Lanterna Superpila LED + Lithium Mod
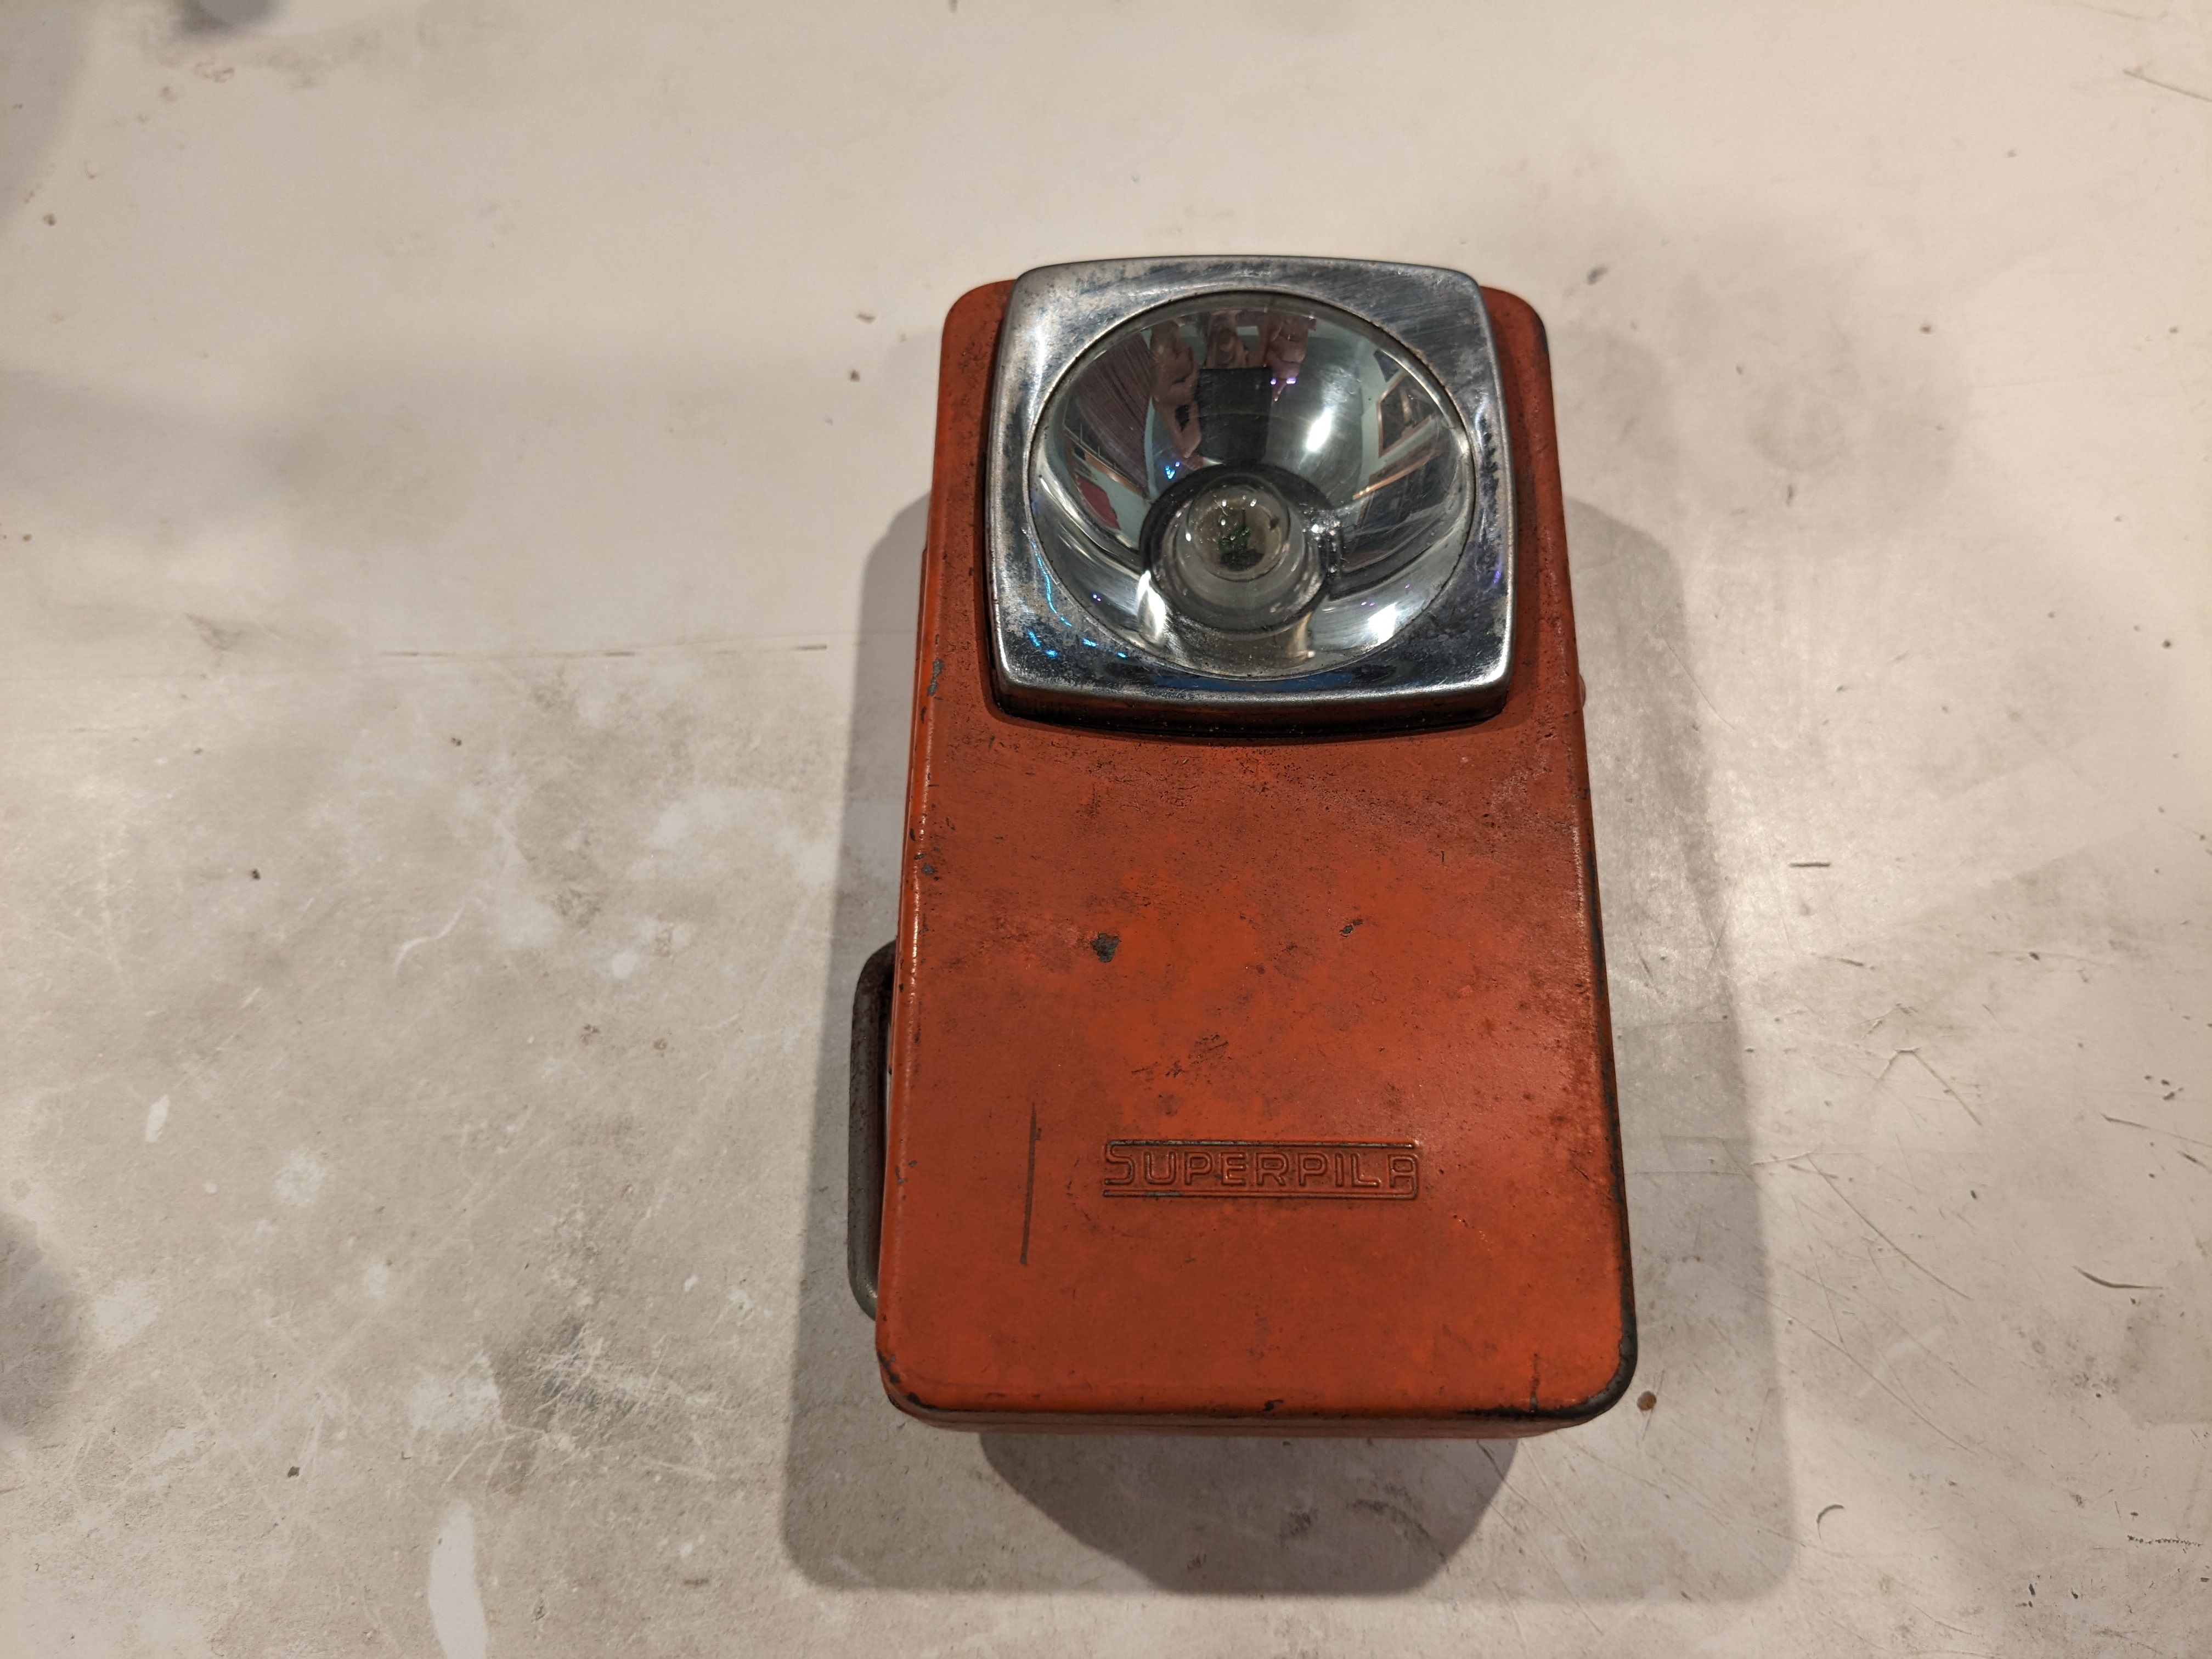

Every object in our lives has a story, and if the observer looks hard enough, they offer a snapshot into a past life, of the long and unlikely path each of us leads. Even something as humble as this Lanterna Superpila I rescued from my great uncle's farm, in a tiny town composed of a half-dozen homes just south of Codroipo, Italy. The specifics of the significance of this particular object are mundane and uninteresting, except to underscore that meaning and connection can be found in the mundane and uninteresting. Seek these connections. Explore them. The world is never boring to the curious - we are surrounded by wonders. Some people take up painting a scene, to more intimately understand a space or event. Others, seeking a similar understanding, write poetry, or compose music. I tend to seek connection via tactile objects. In restoring them, disassembling them, reassembling them, modifying them, we visit the original designers in their space, and we visit their owners in their time and space. By adding our own contributions to the object, we join that chain of events. It is very grounding to me. Even if it's the Engineer's Anthropic Principle: If you look hard enough at a designed object, you can be sure that some poor engineer, somewhere, was frustrated that this particular piece wasn't working right.
So yeah, I resto-modded this old flashlight with a salvaged Lithium battery from an old Macbook, put a USB charger in there, and wrapped it up with a super bright pair of LEDs (front and back). And waxed philosophic about it. Humans, we're funny creatures.
First step was adapting a generic 3W starburst LED to fit into the space for the original light bulb. That was straightforward:
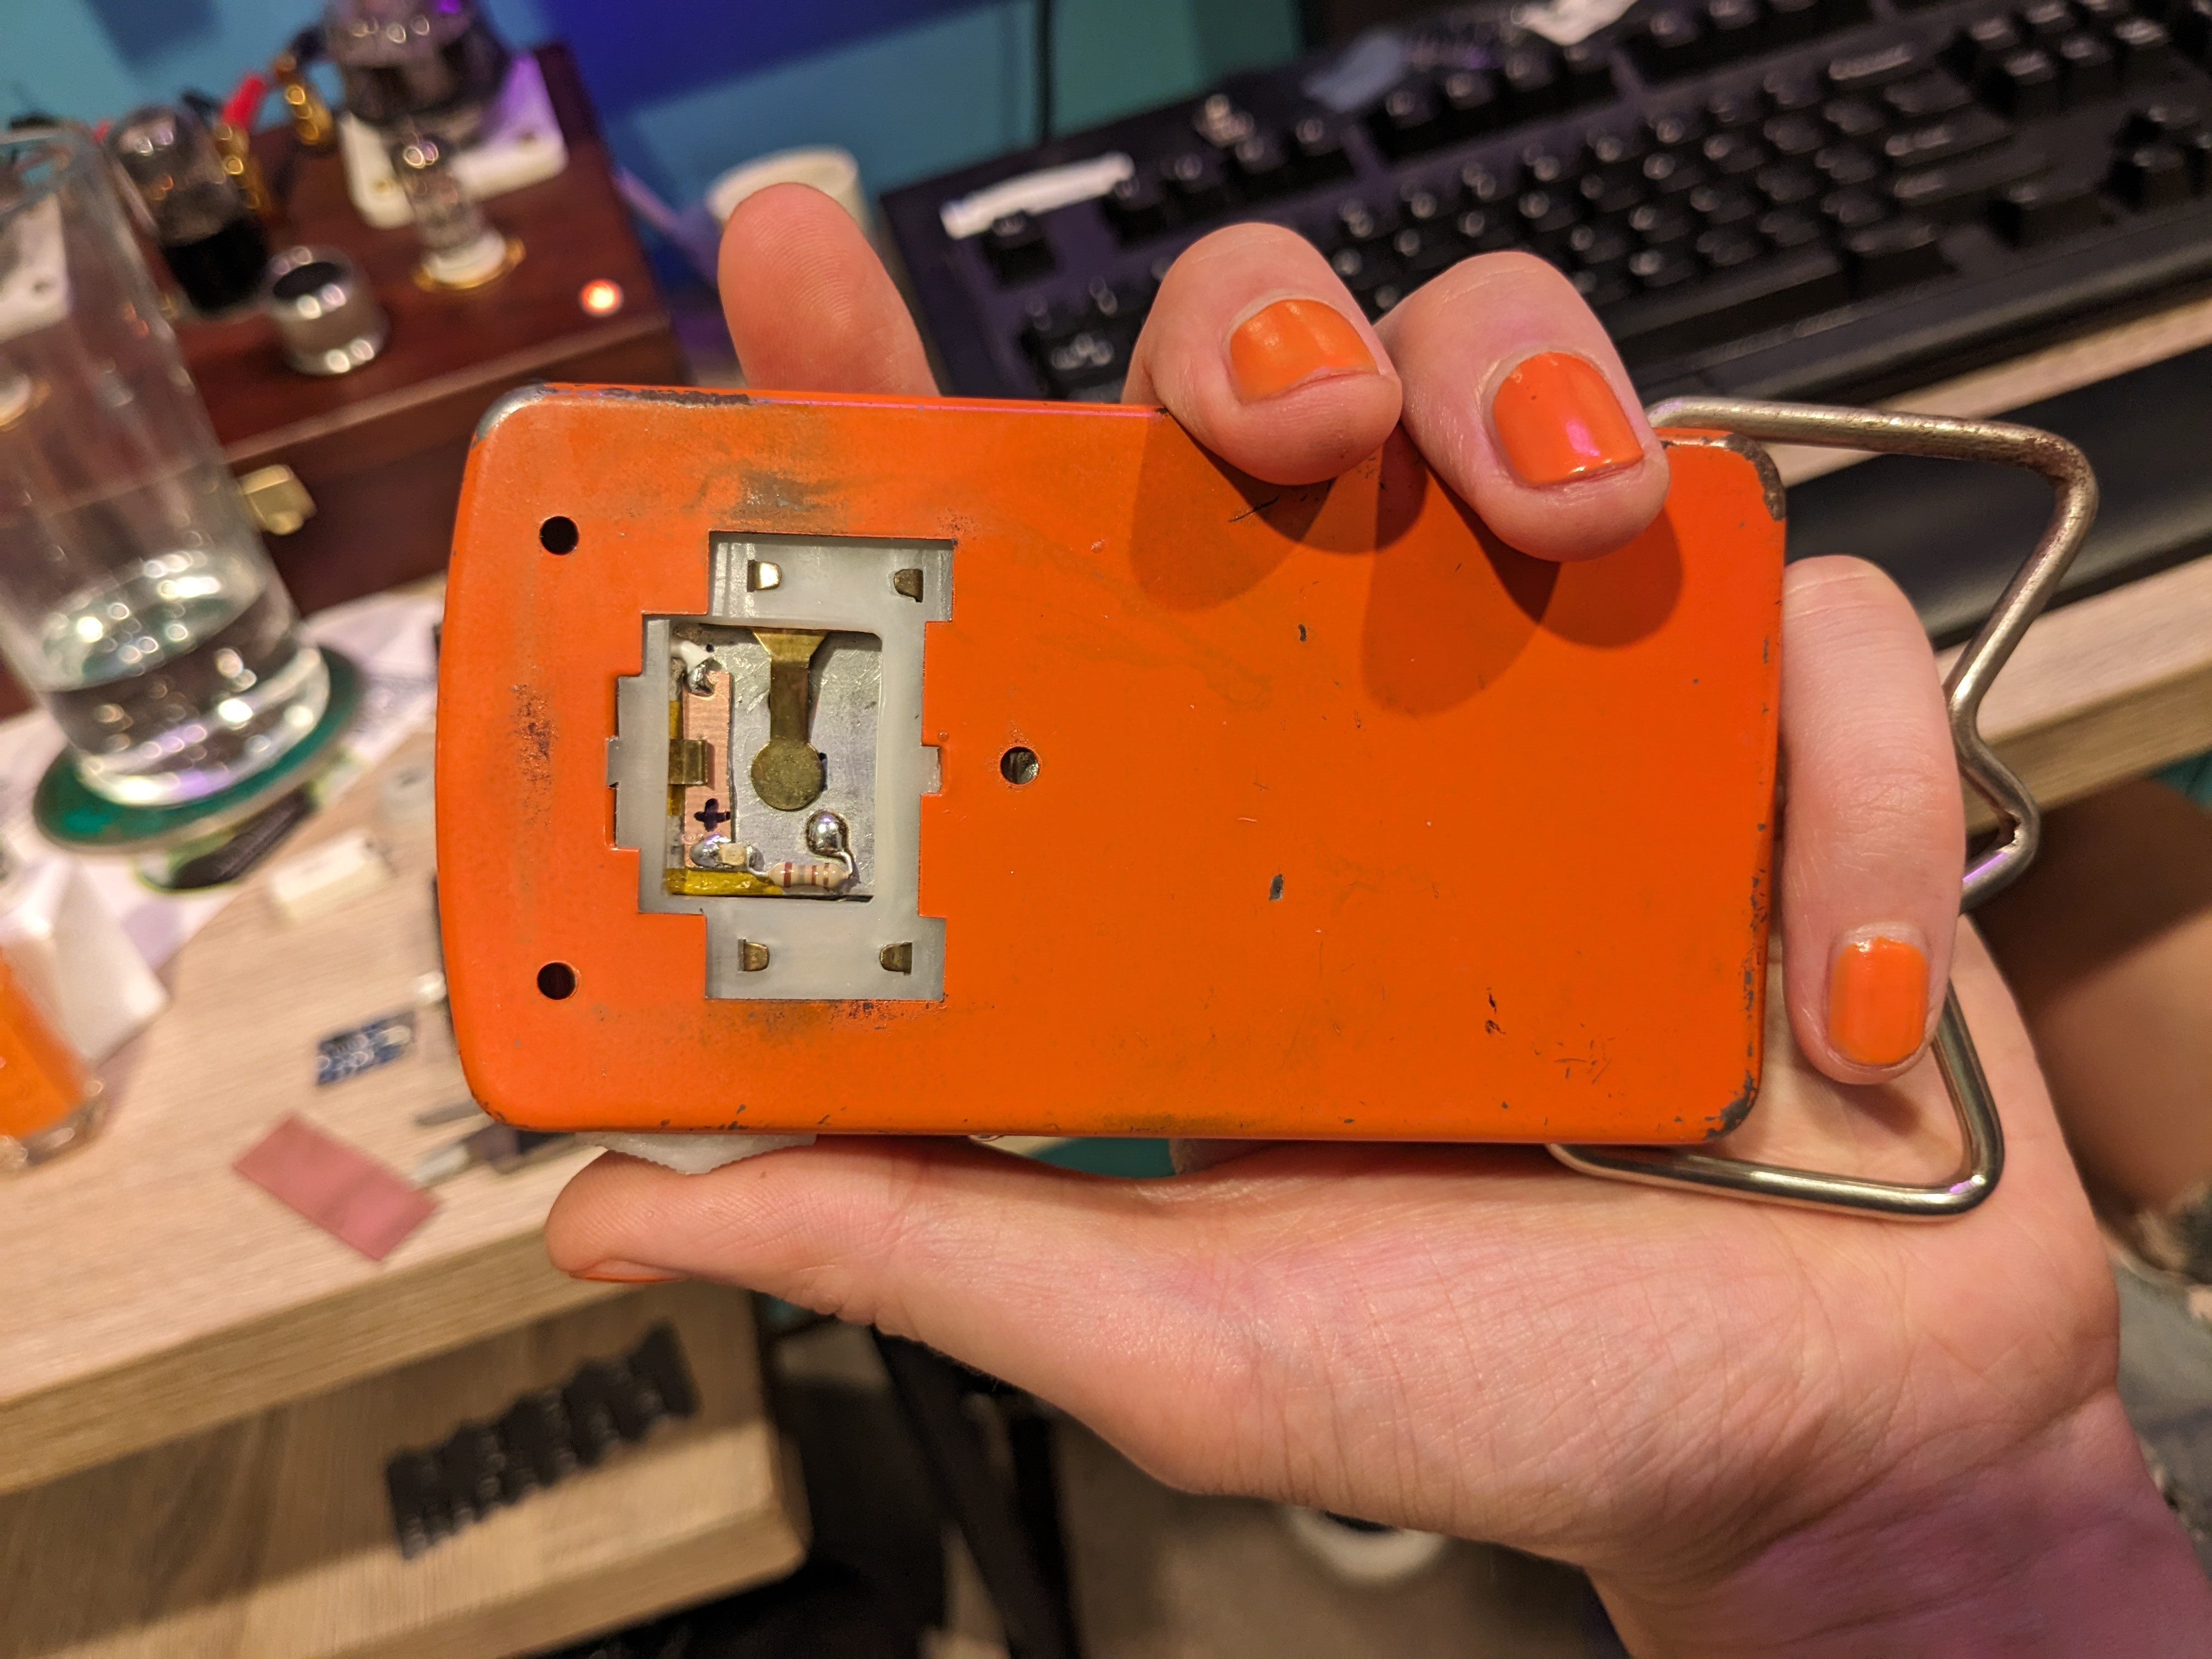
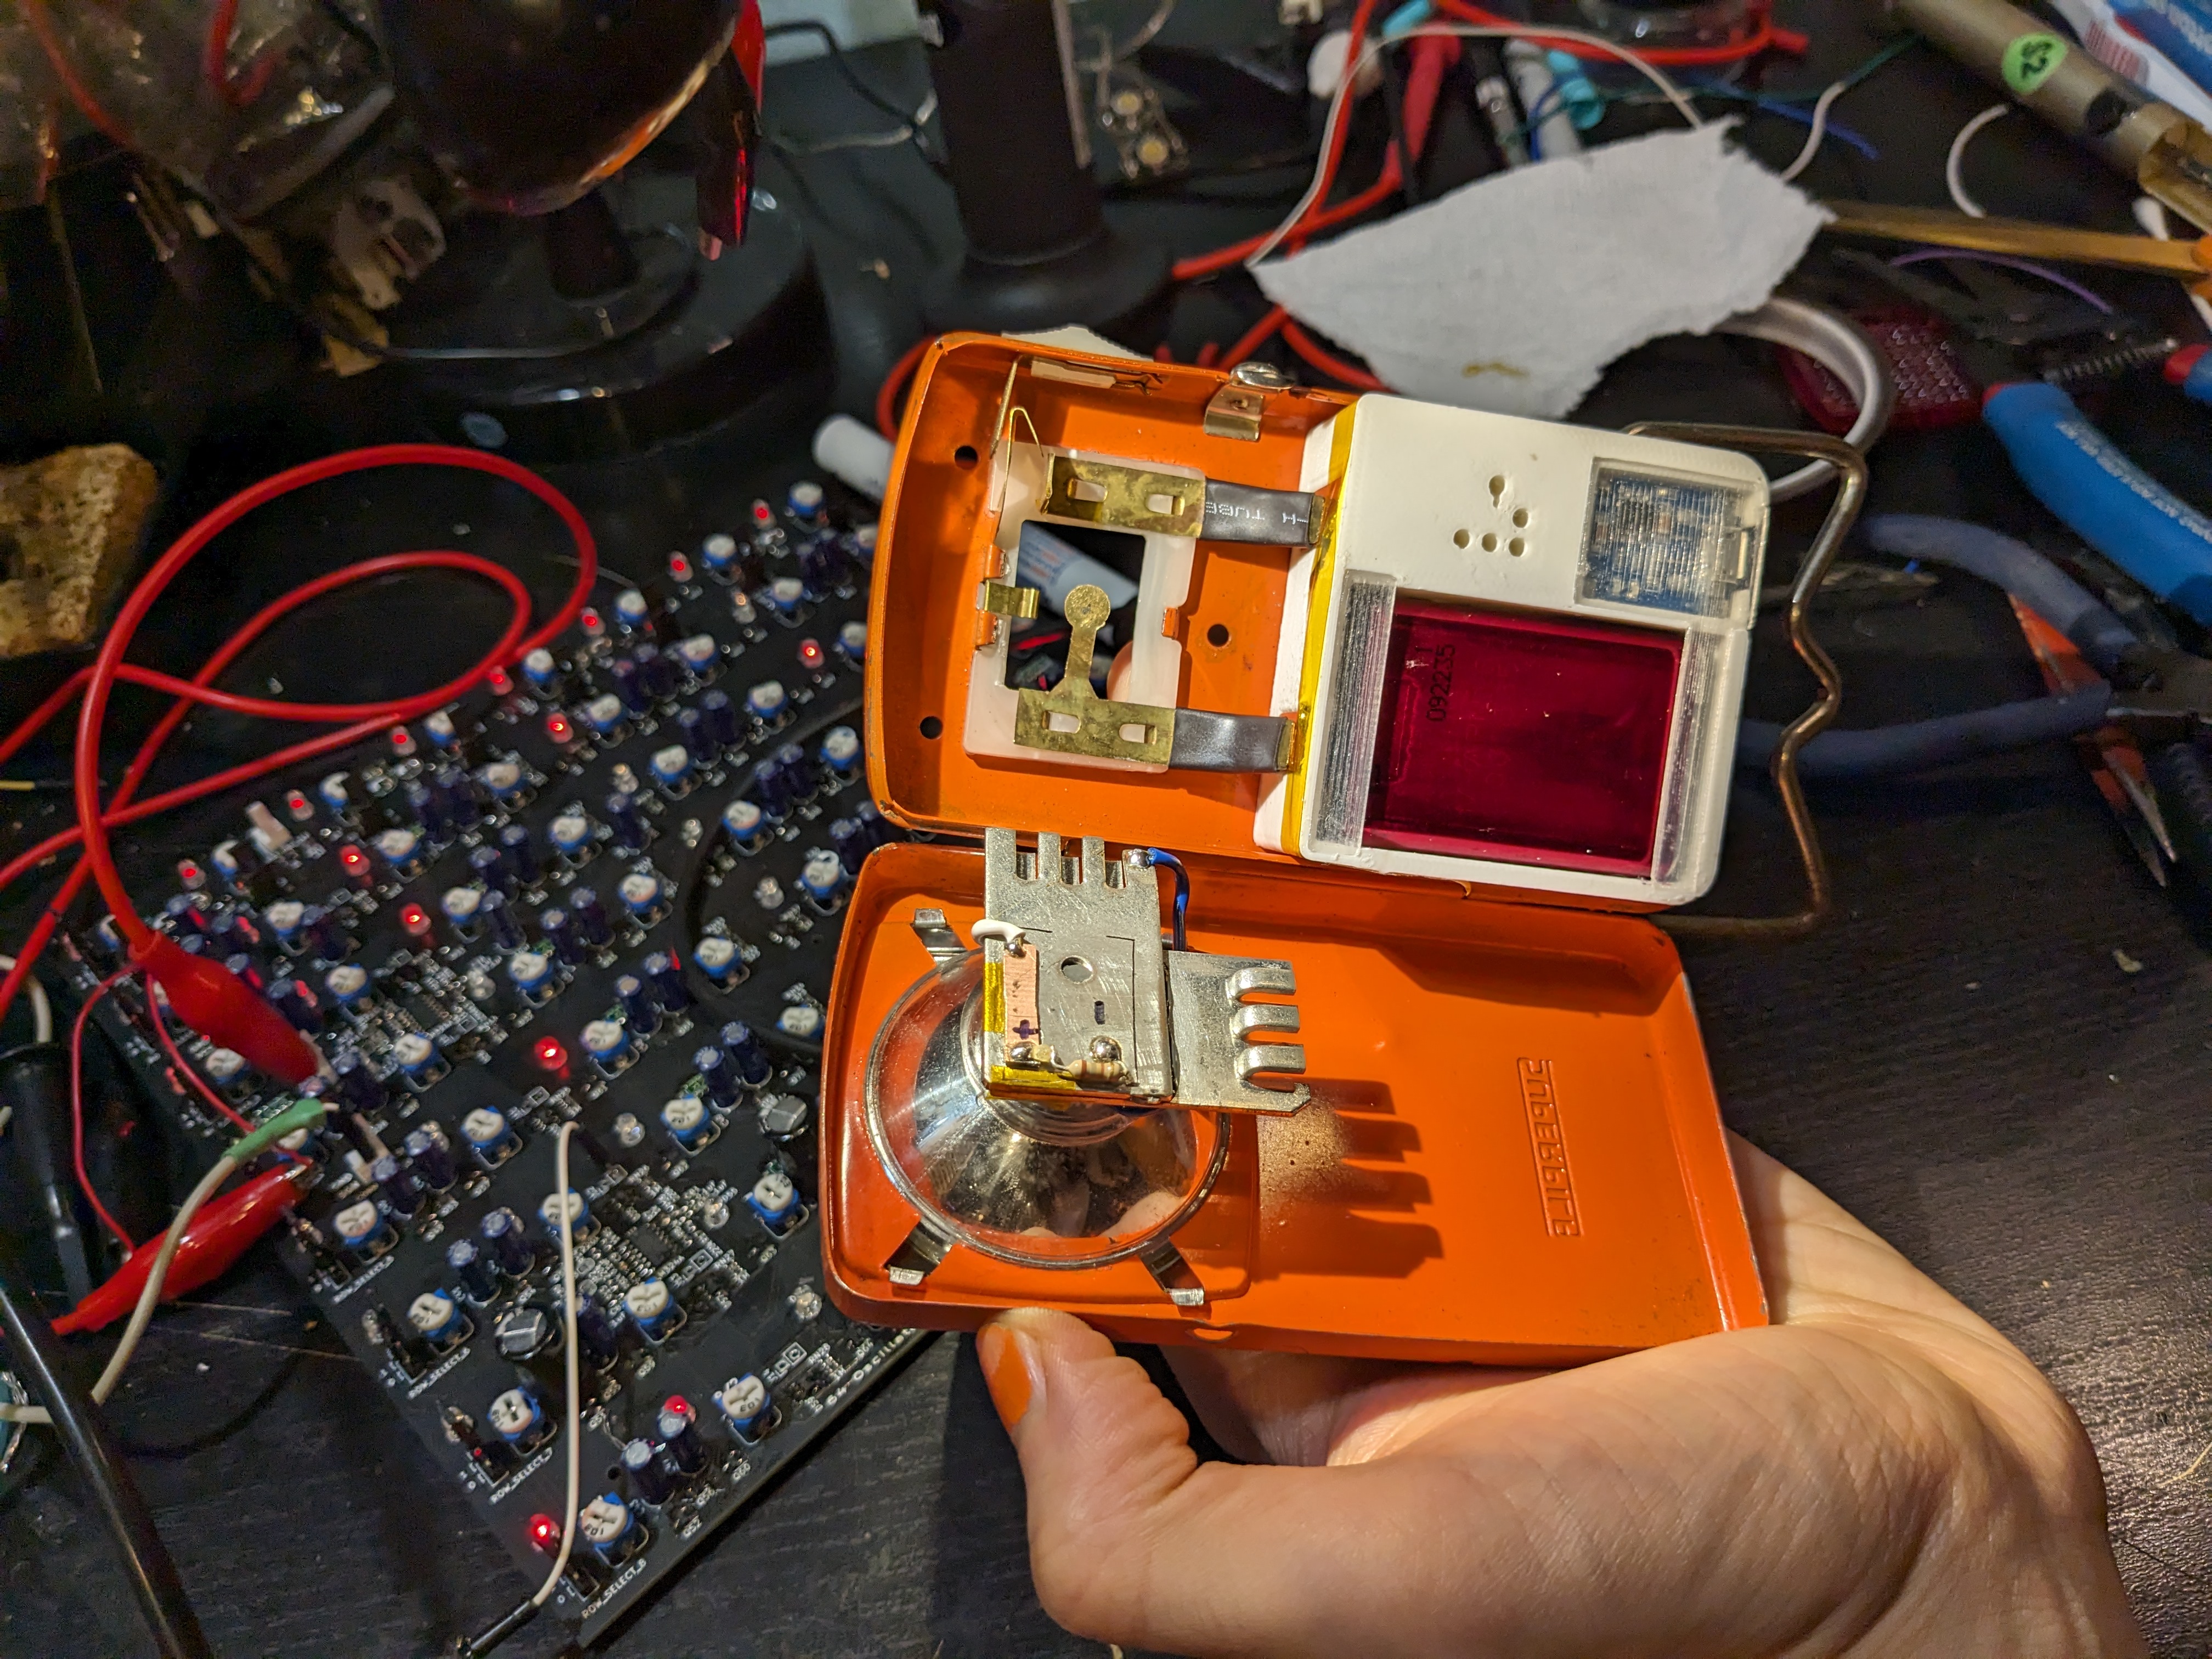
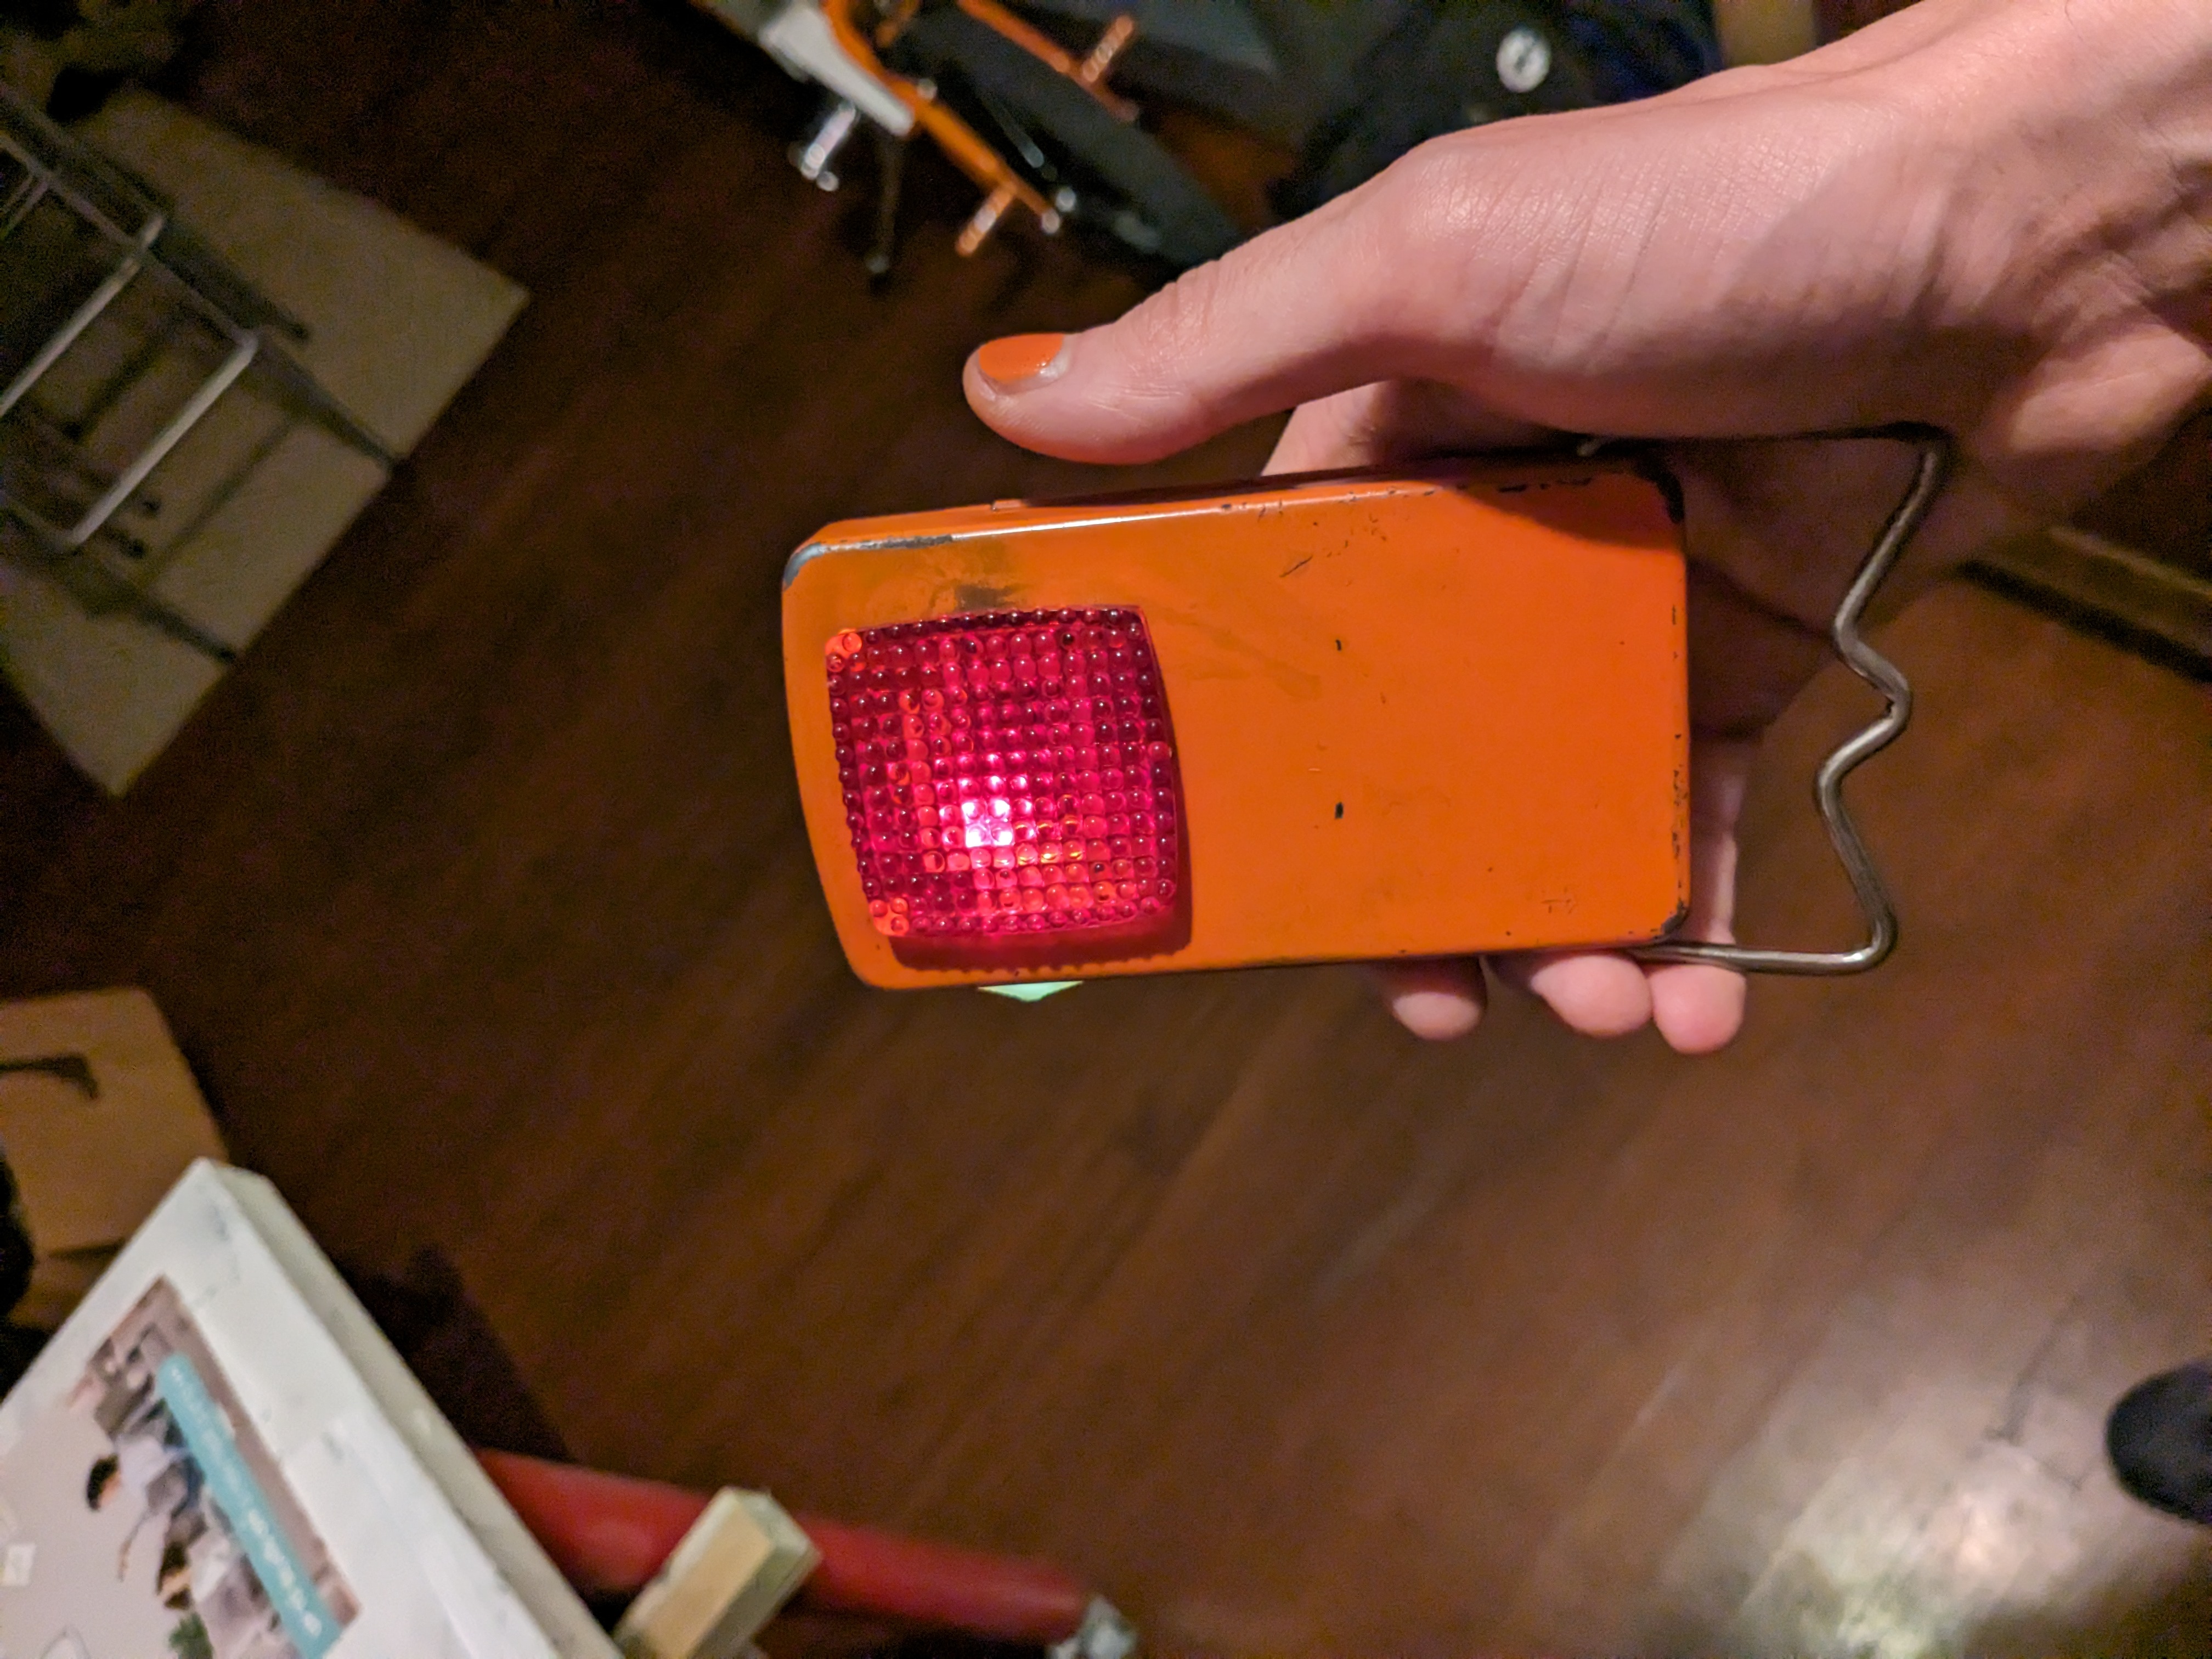
 I simply glued the LED to a couple scrap heatsinks. The contacts are formed by the heatsink itself (negative connection) and a strip of PCB material glued to touch the positive connection. A small red SMD LED and resistor was directly soldered to the back to provide that iconic tail light.
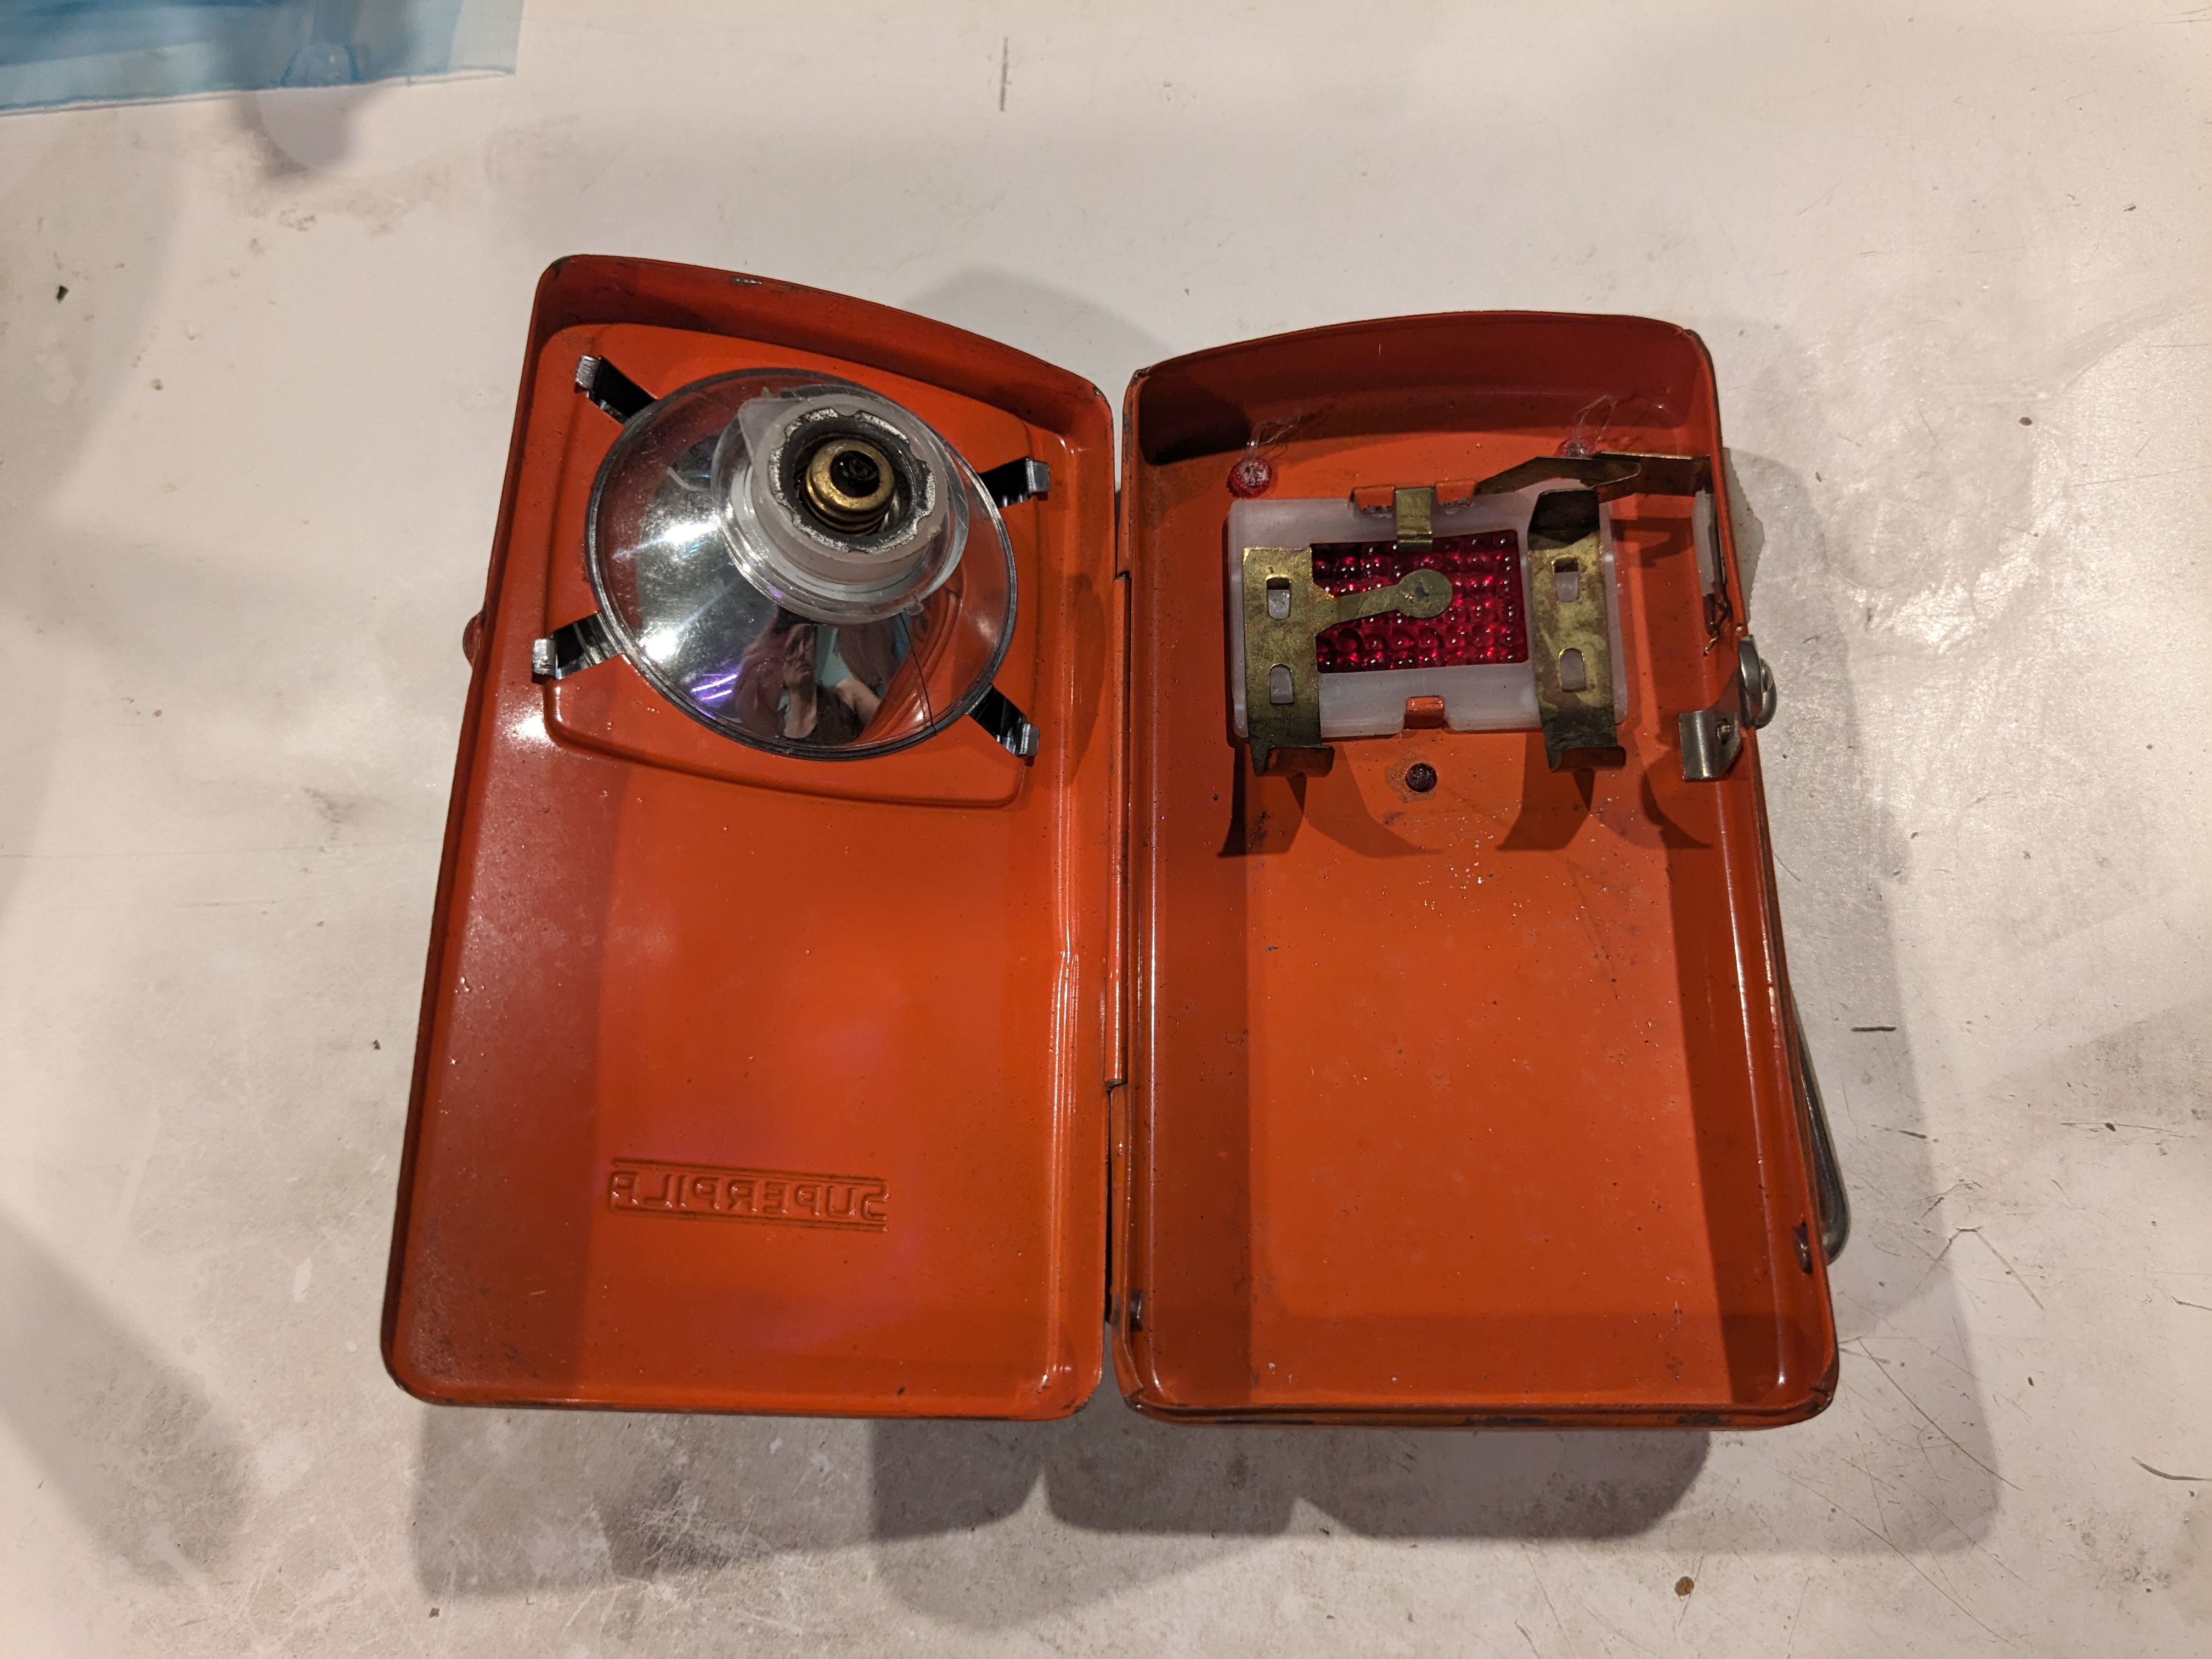
 With the lens removed, you can see how the module interfaces with the existing contacts.
Next, I characterized the random generic LED I used. I ran it at various voltages and measured the current:

Using this, a measurement of the scrounged battery's capacity, and a target of ~12h runtime, I worked out that I wanted to run at about 1.5W. Given the LED's voltage drop a simple dropper resistor would be about 80% efficient. This was good enough for me. A buck converter would be more efficient but I liked the simplicity. To figure this out I computed a polynomial regression of the I-V curve I measured, calculated an estimated current through the circuit at a certain battery voltage (assuming the LED was a plain resistor), and simply adjusted the LED's assumed resistance until everything lined up with the actual measured I-V curve. Perhaps I could have used a SPICE toolkit, but this just took me ten minutes.
The battery charger was an off-the-shelf generic charger from AliExpress from the junk drawer. I did not have a good over-discharge protection circuit handy, so I'm going YOLO. At 2.7V the light output will be very low anyway, that will remind me to charge. I'll probably regret this.
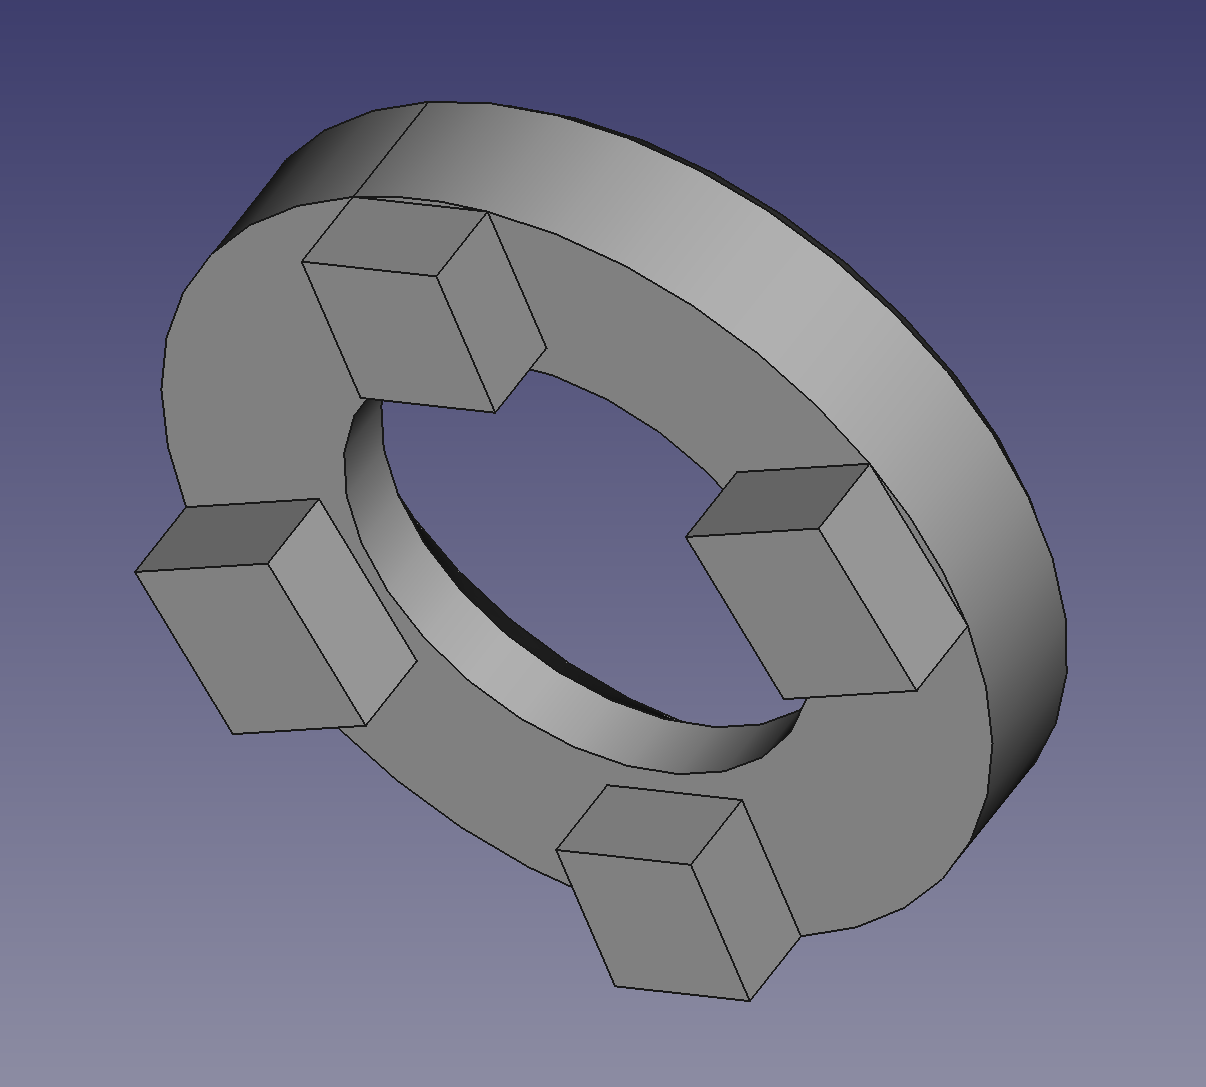
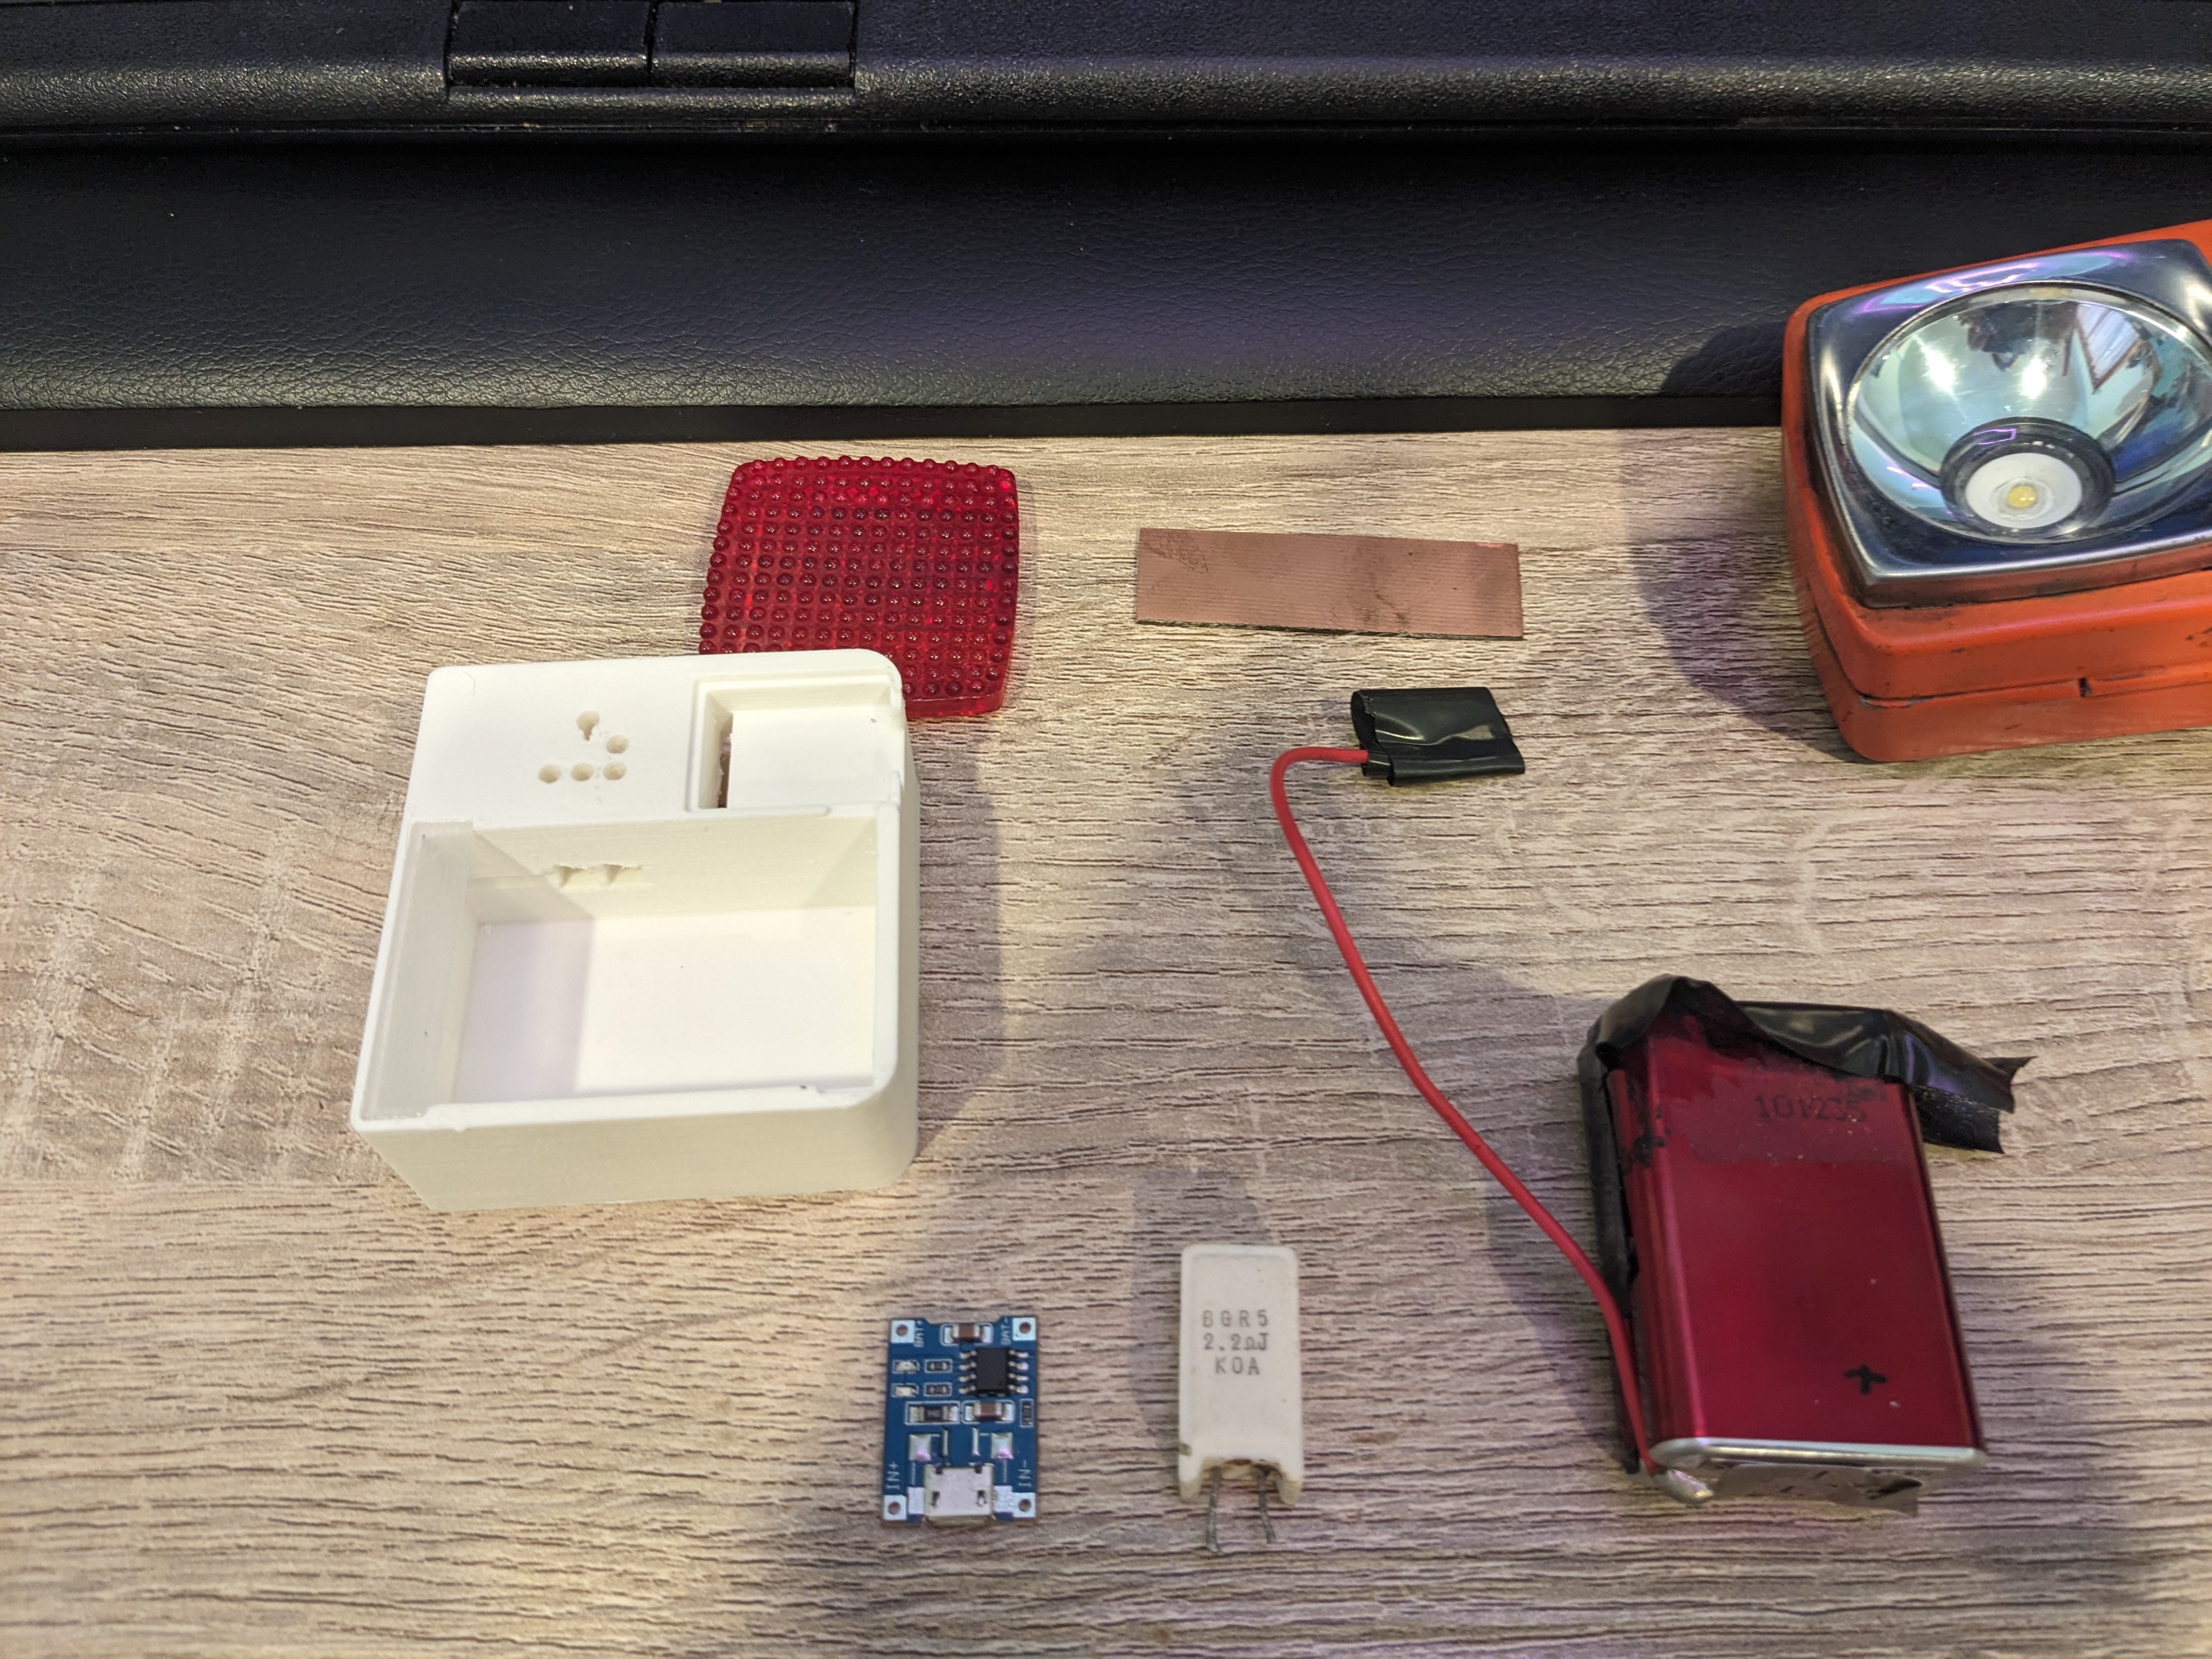
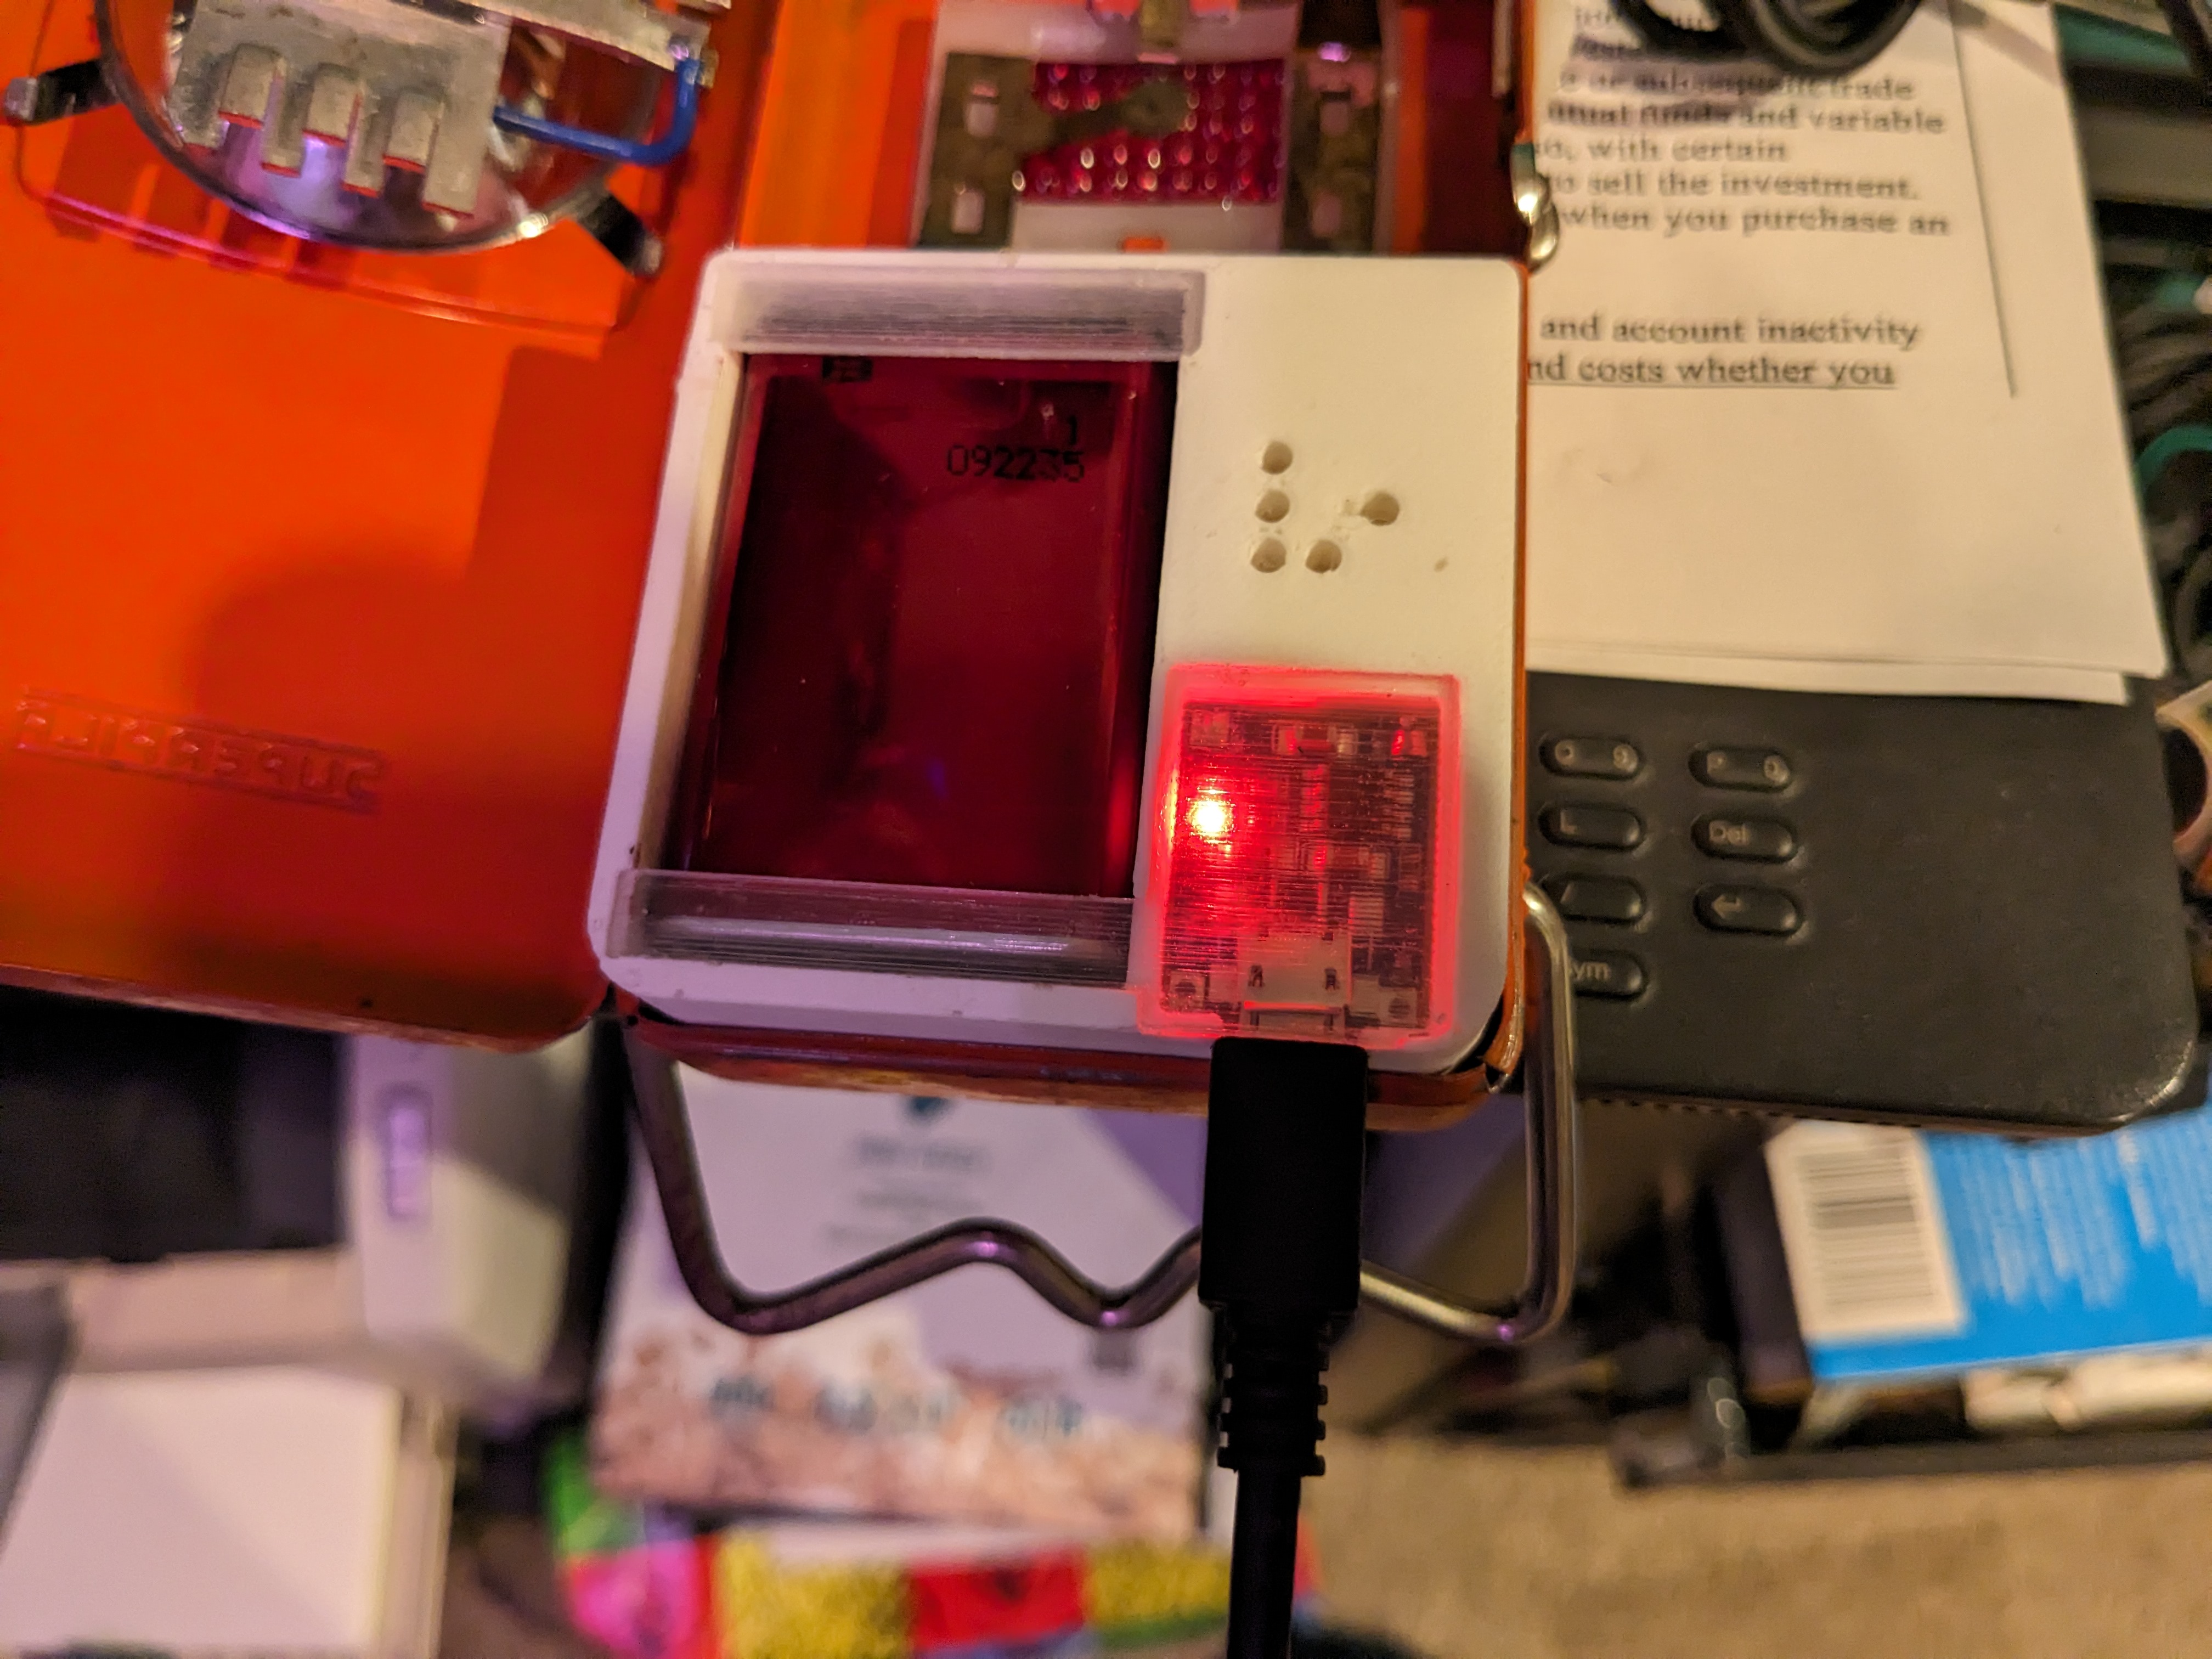
I then assembled everything (battery, charger, resistor) in a snazzy 3d printed module that uses a pair of copper strips to simulate the original battery.
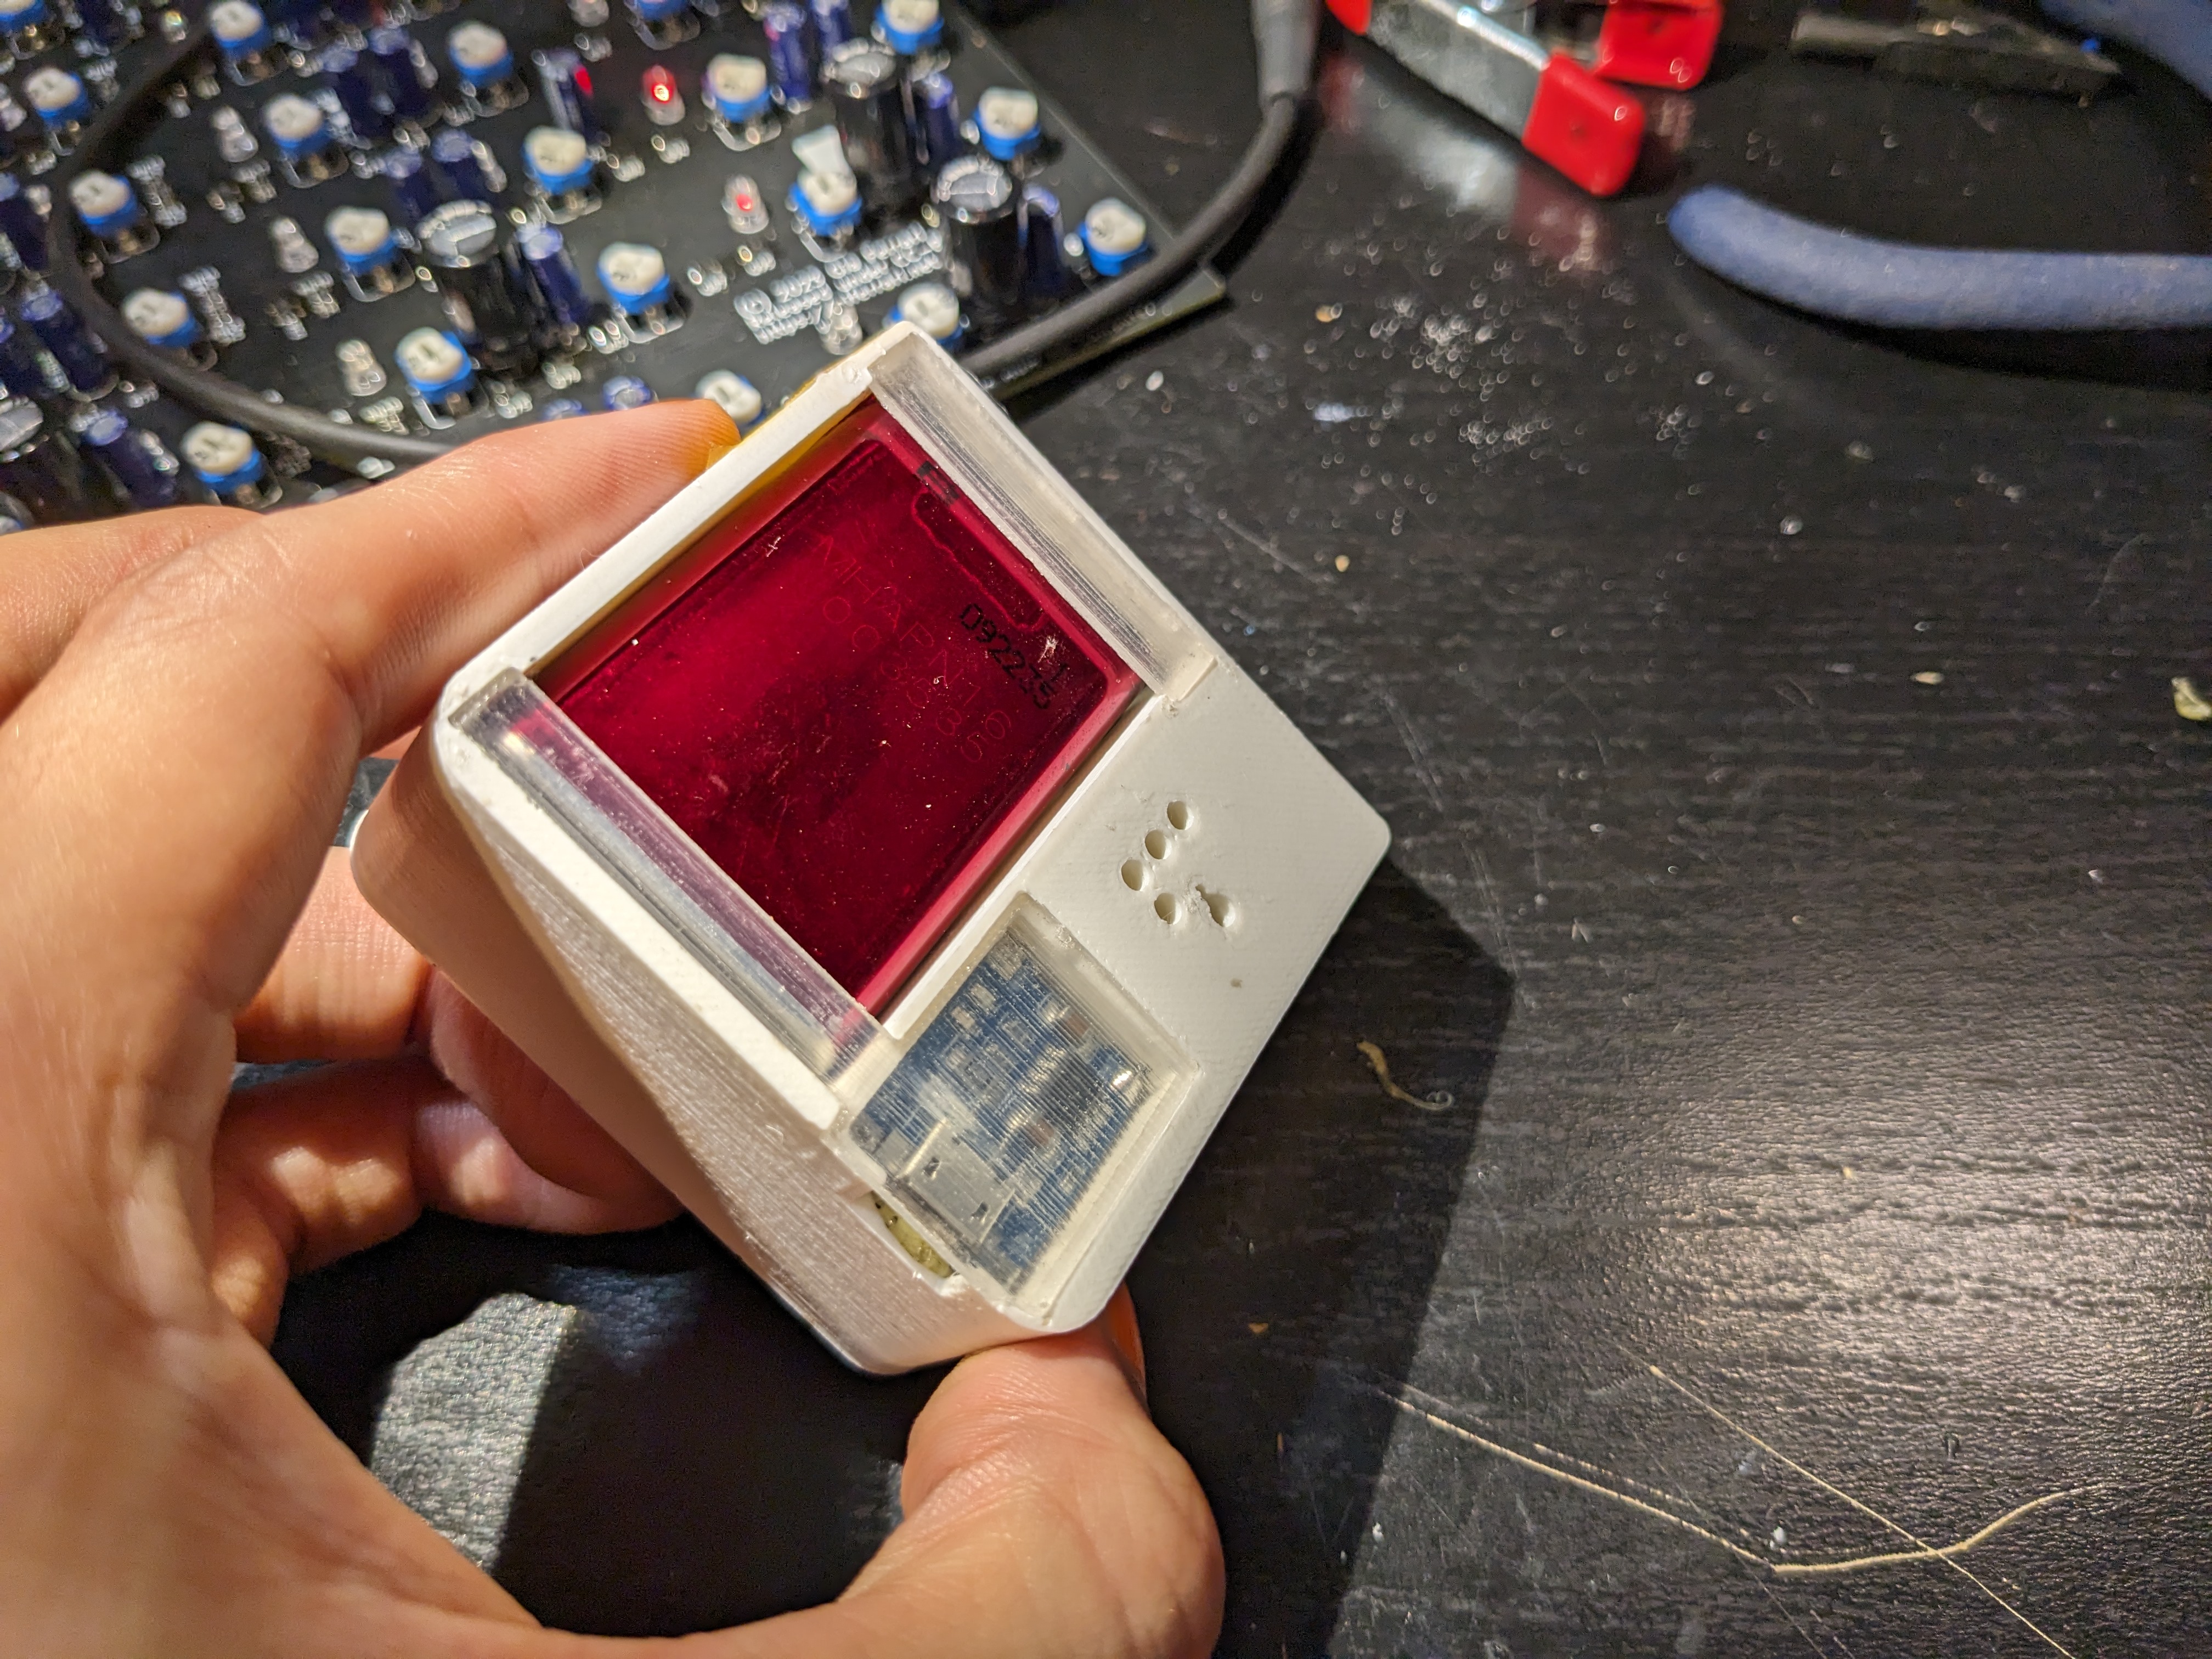
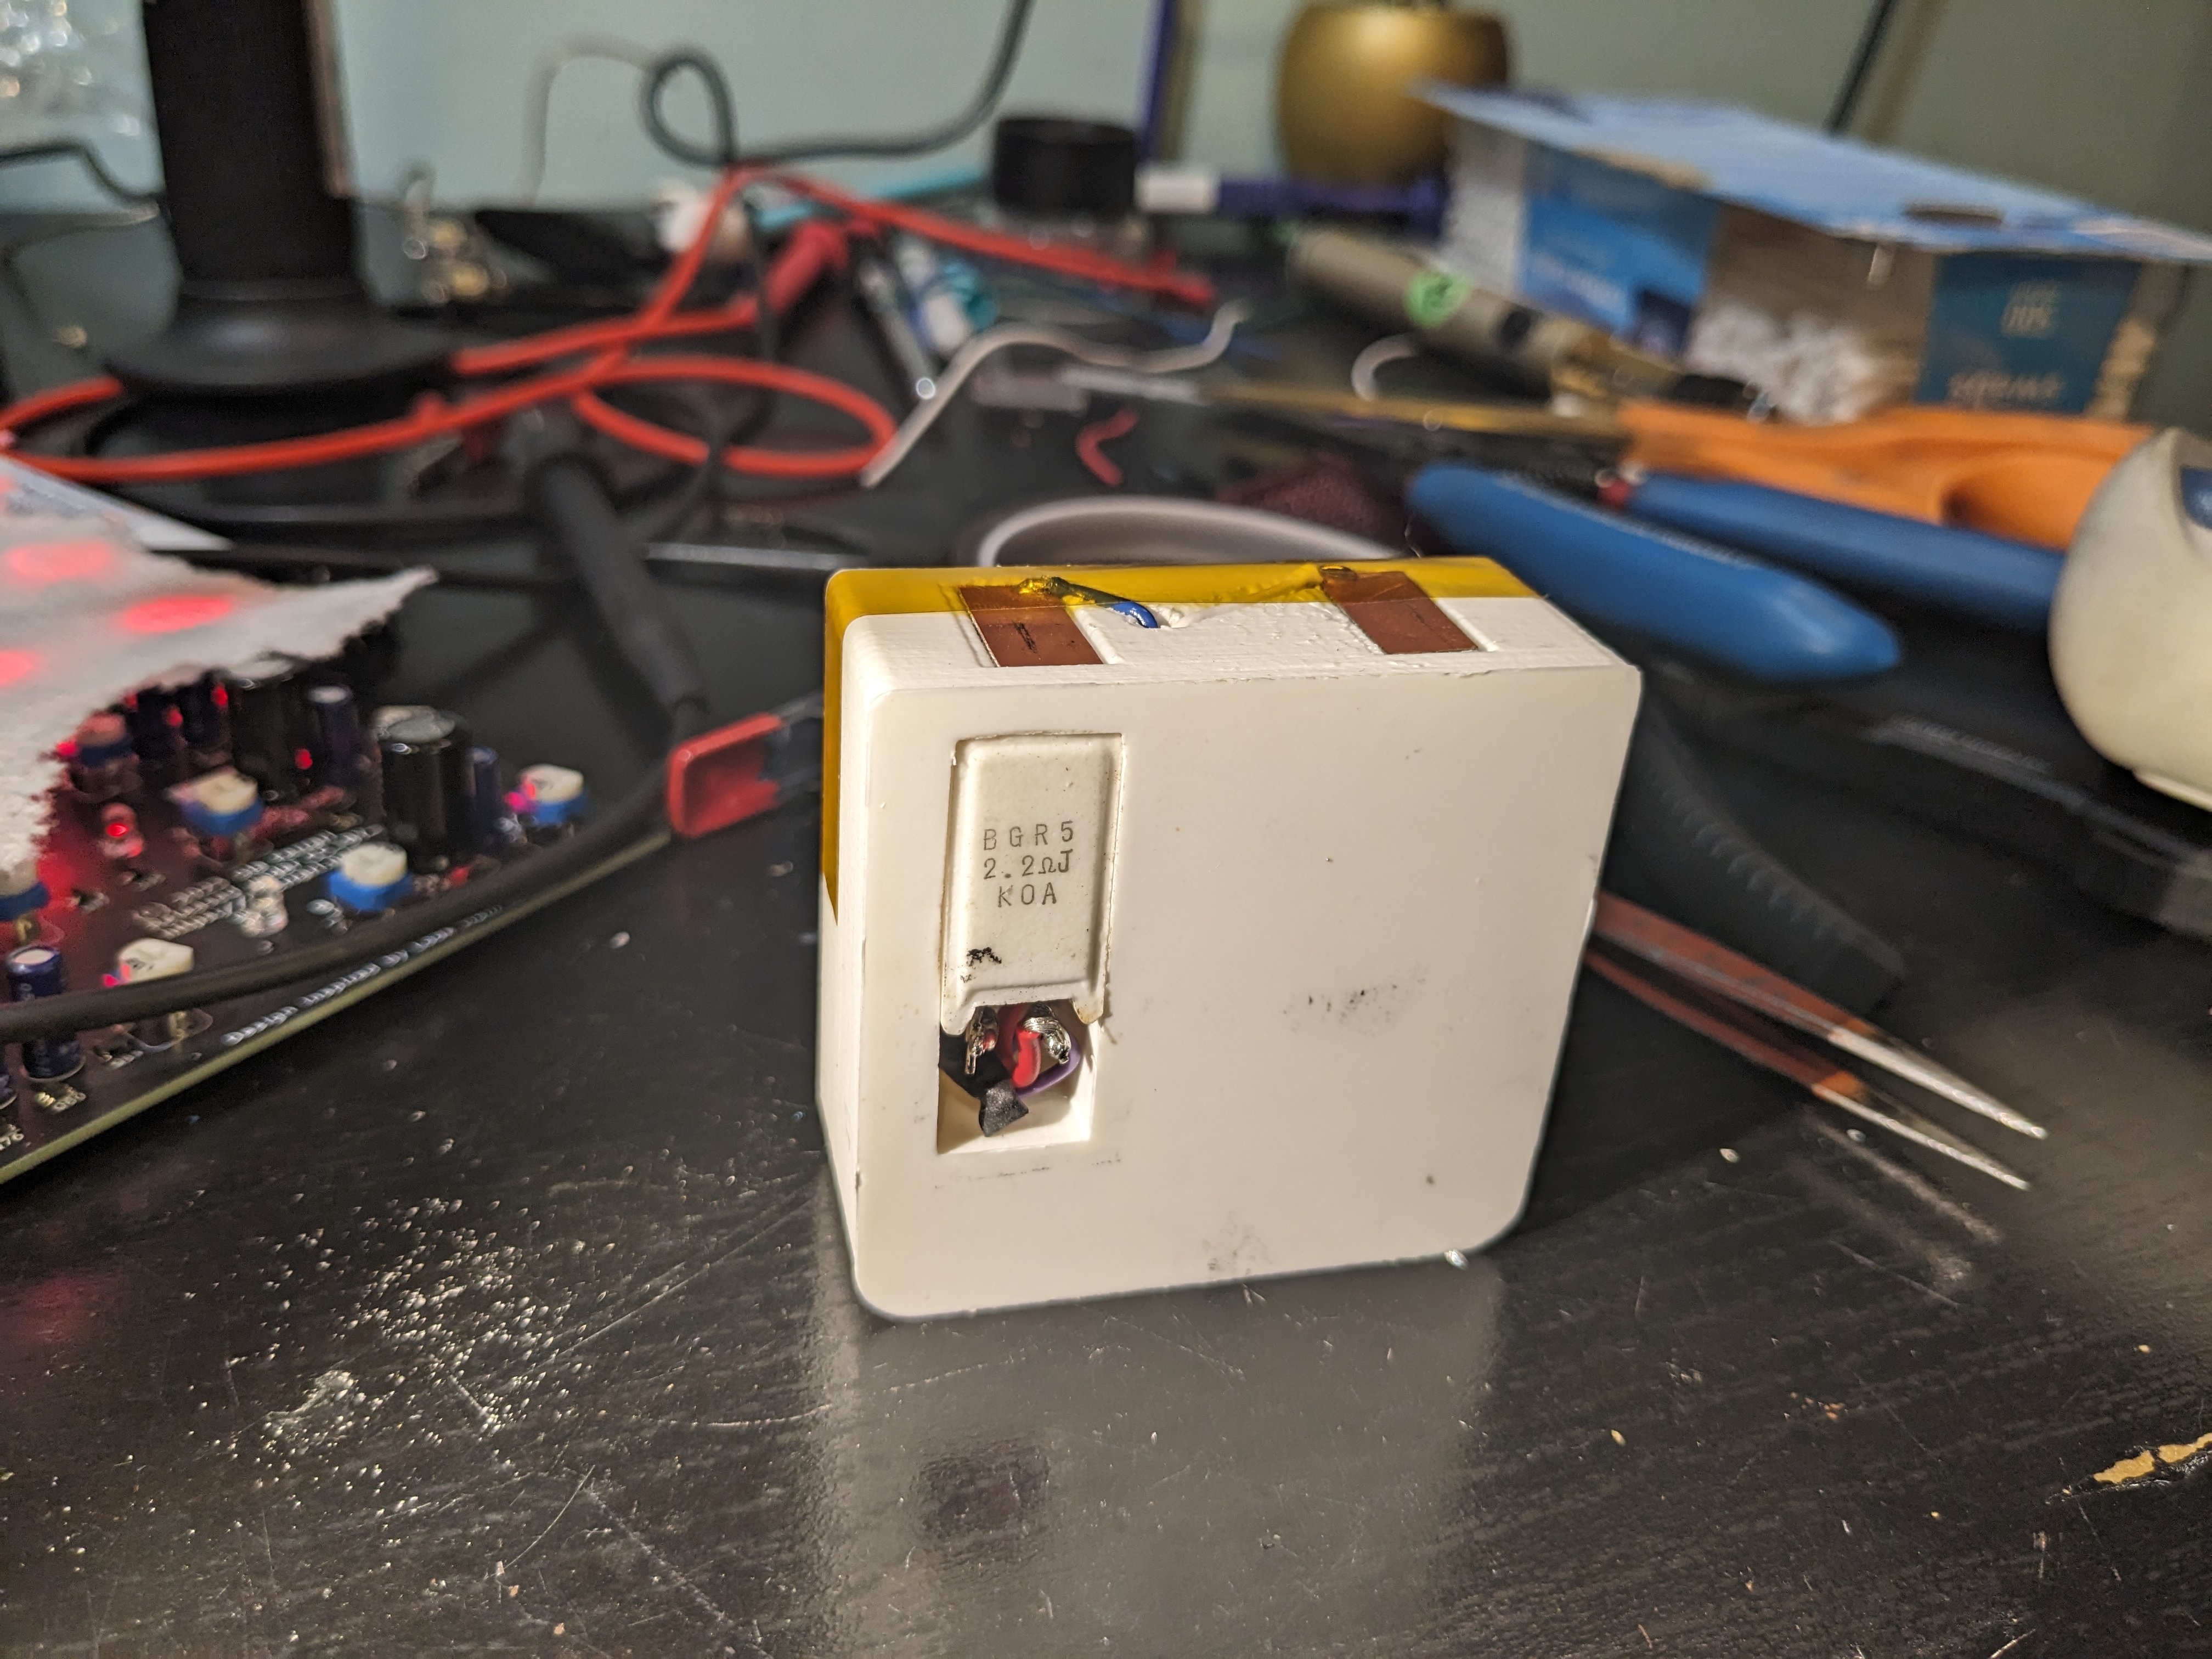
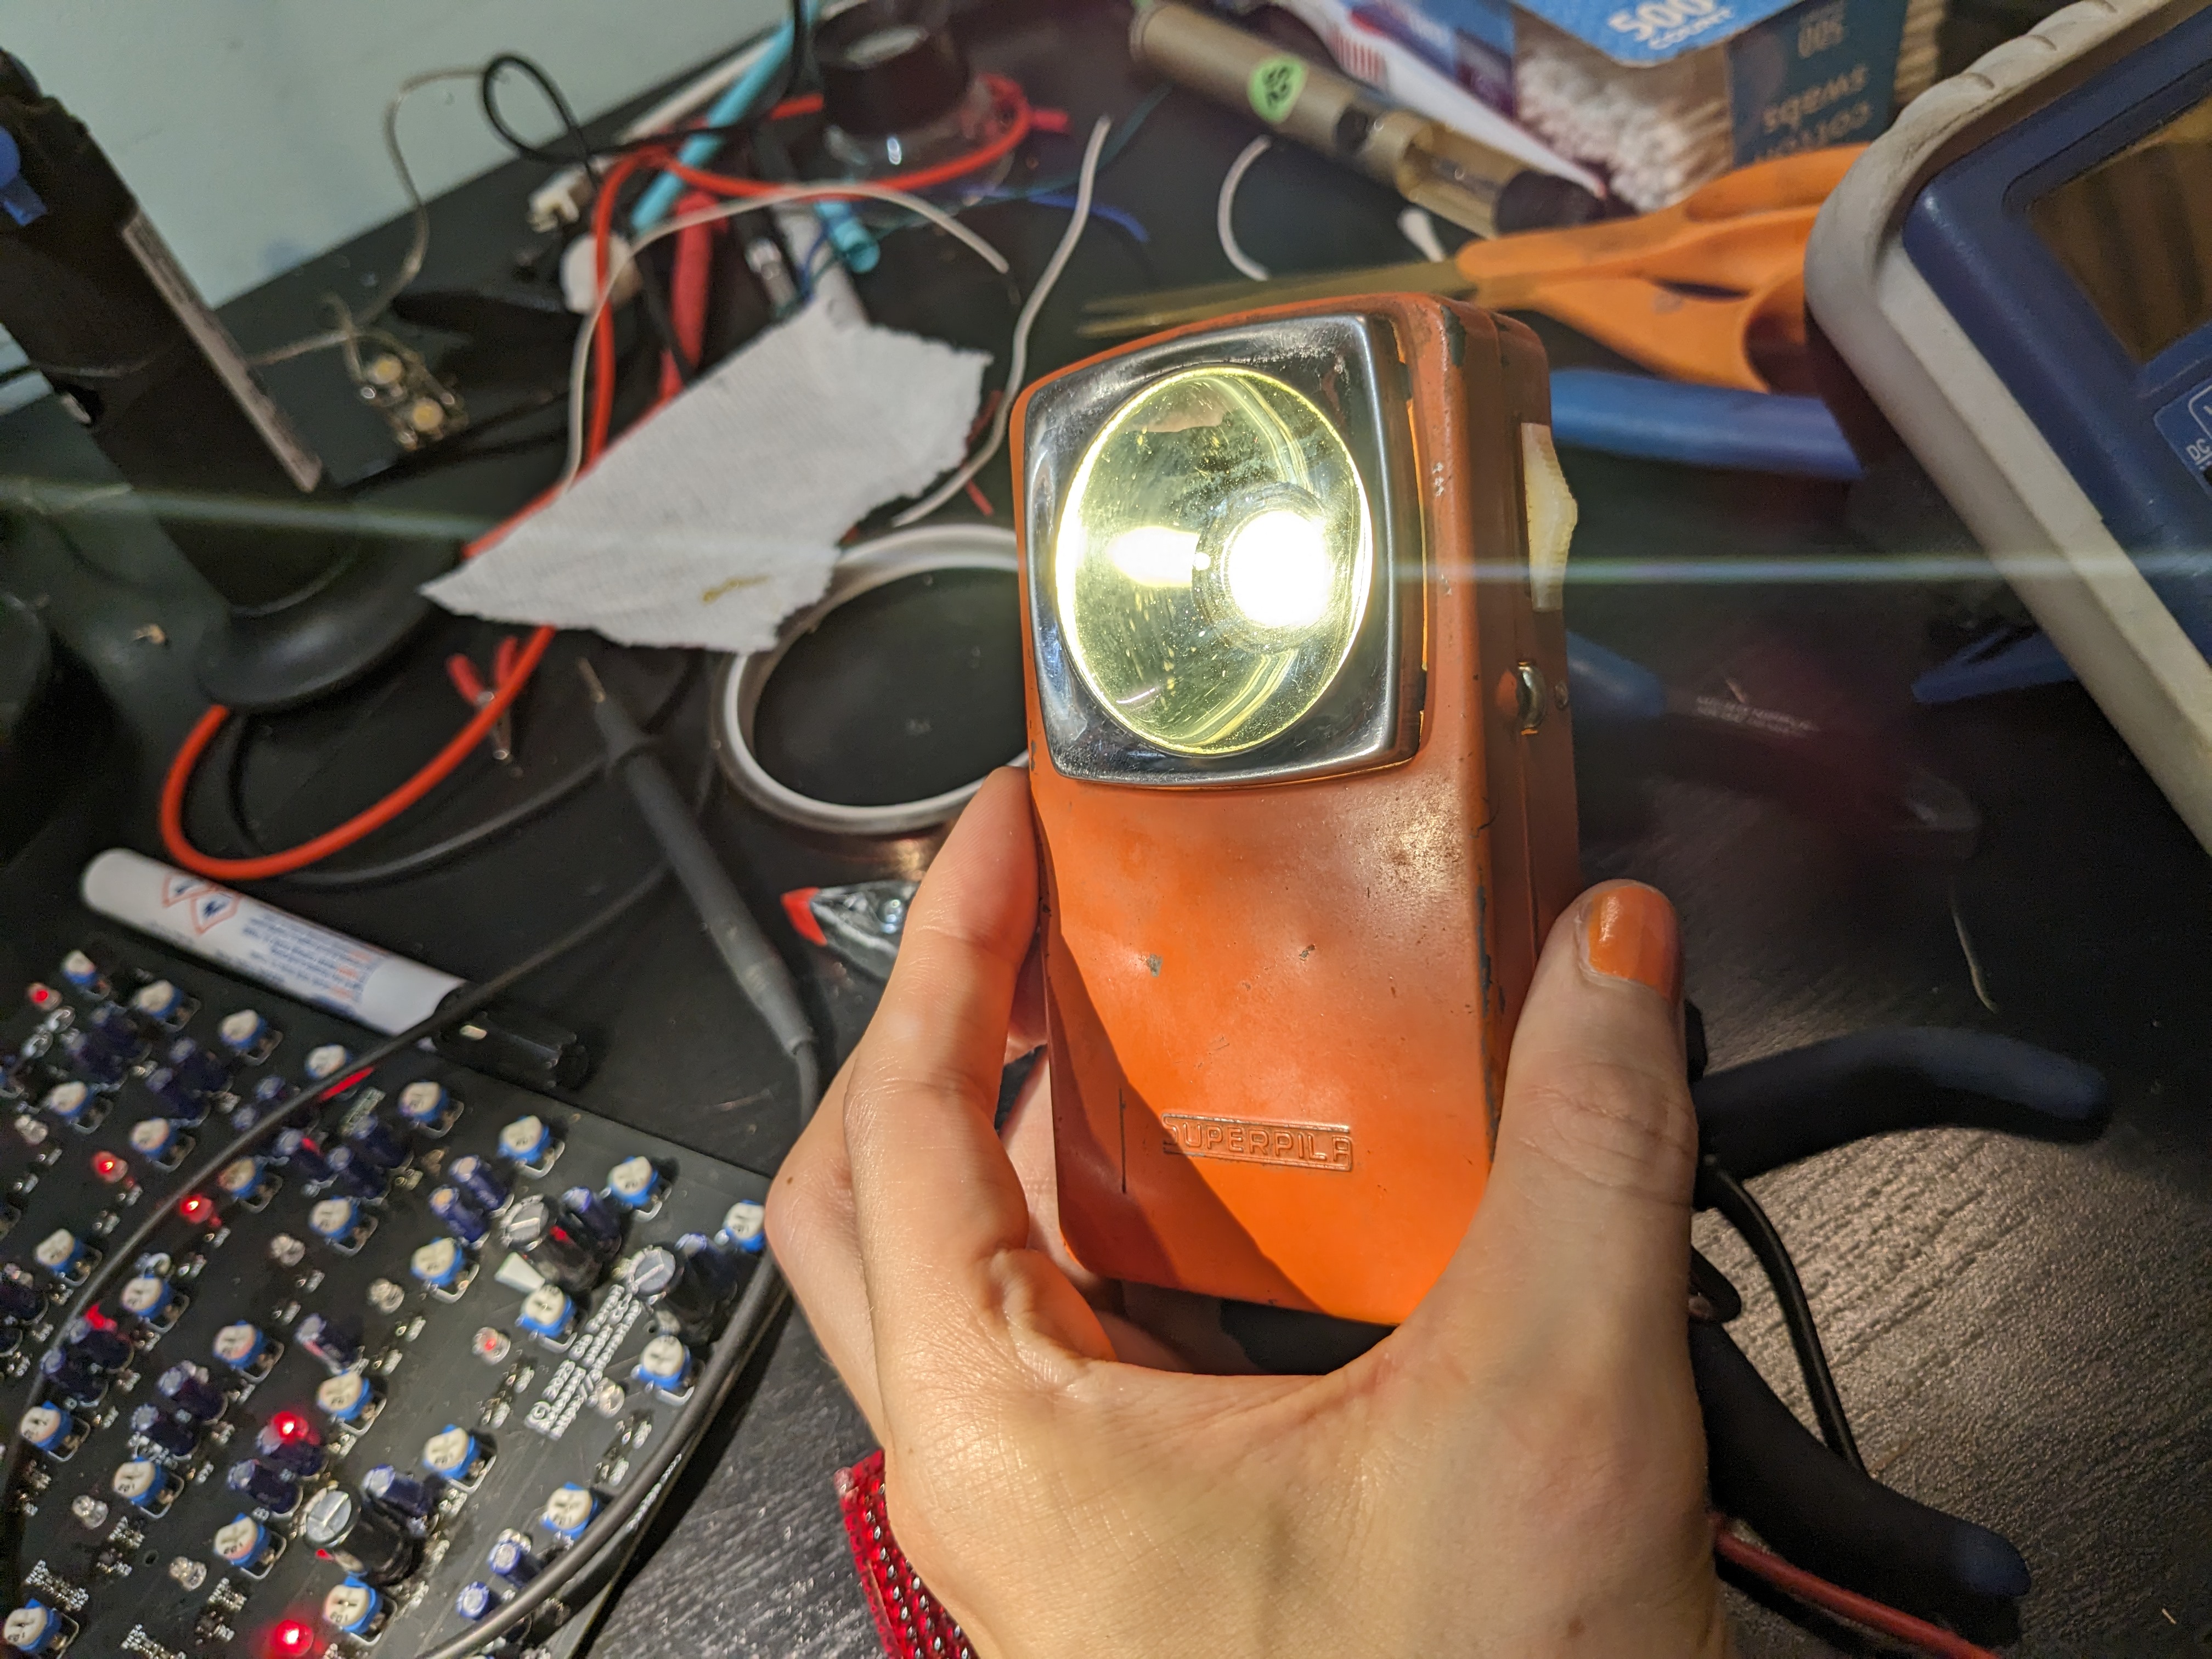
Et voilà.
If for some cosmically-unlikely reason you are doing a similar mod, models are attached below.